How to code sign & publish an App to the App Store
Prerequisites
- Xcode compatible project(Using React-Native Project in this tutorial and Xcode 13.1).
- App Developer Account, Enroll for one if you dont have it.
- Before you submit your app for review make sure you check the App Store Review Guidelines.
Steps
The App submission process includes
- Register a new bundle identifier
- Create a CSR (Certificate Signing Request)
- Create an
App StoreProduction Certificate - Create a Production Provisioning Profile (To read more about code signing click here)
- Create an app onto the App Store Connect (For more info)
- Upload the app binary with any
Upload tools.(Click Here to learn more) - Fill in the app’s metadata, version information and submit the app for review
1. Register a new bundle identifier
1.1 You’d need a bundle ID to create an app. Only an account holder can create one. (Read more about roles here)
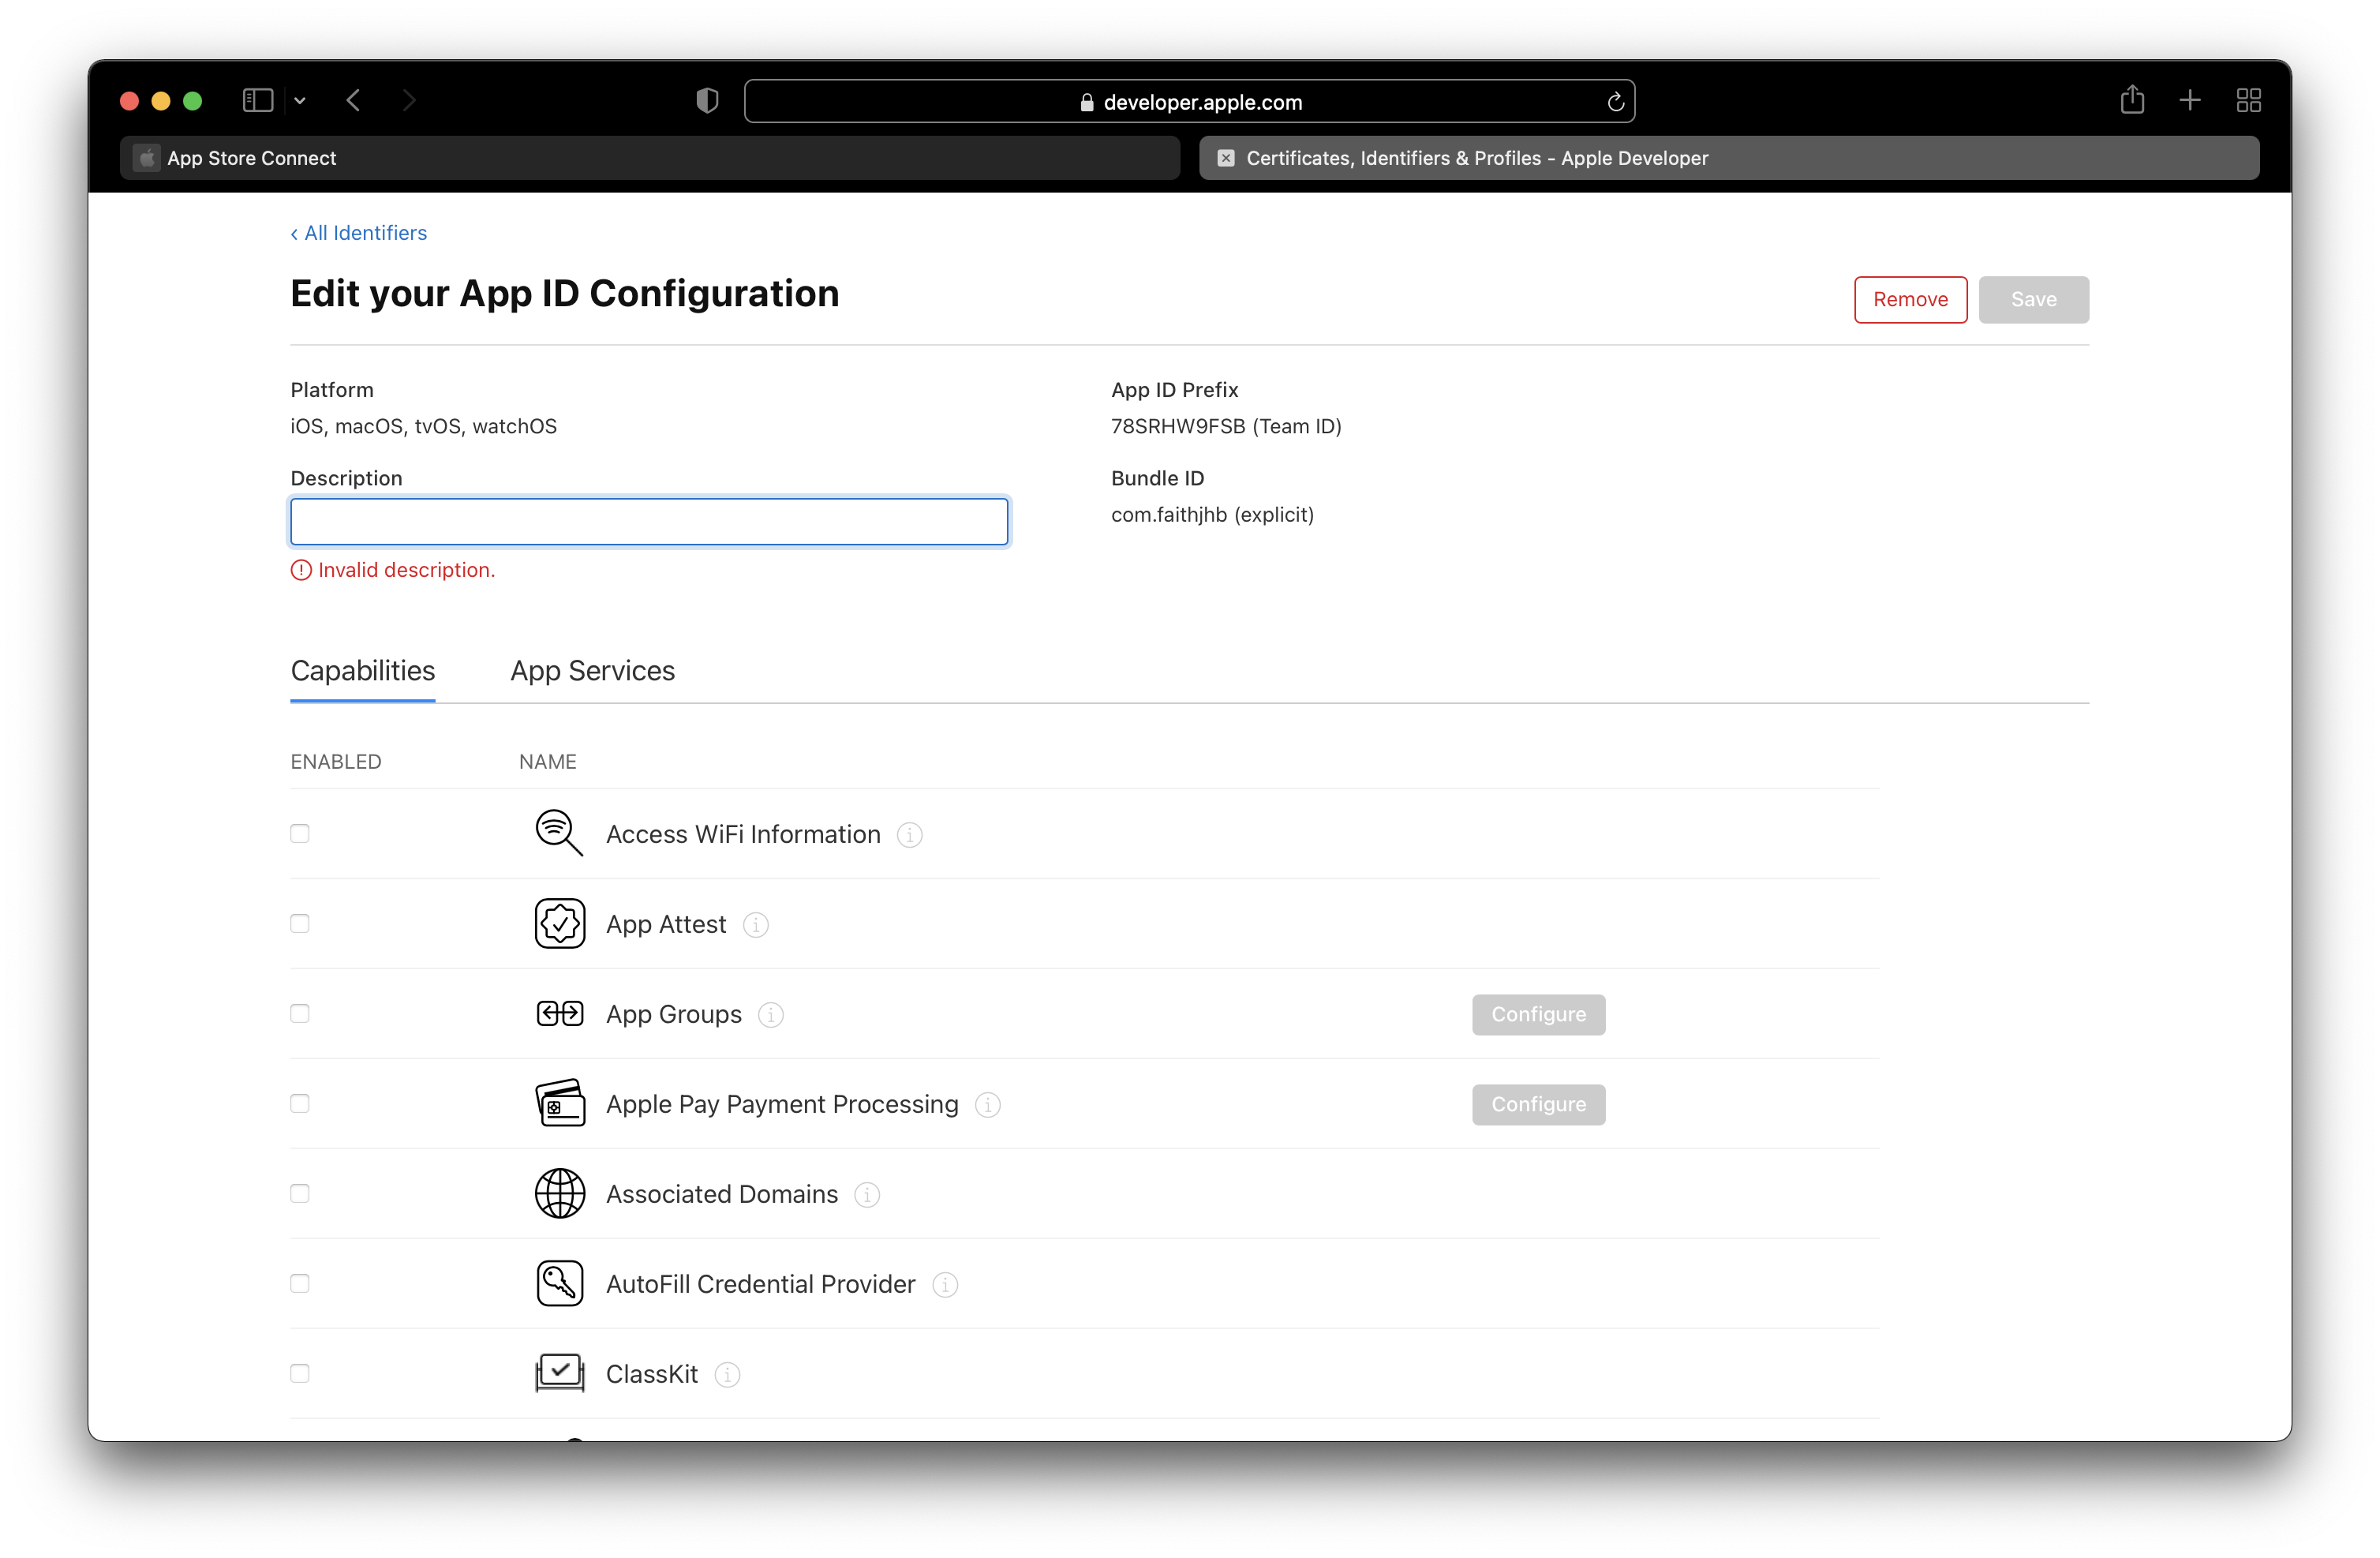
- To create a Bundle Id, goto developer portal, check services the app needs. (In this app I’m enabling services for
Push NotificationsandSign In with Apple) and clickSave
2. Create a CSR (Certificate Signing Request)
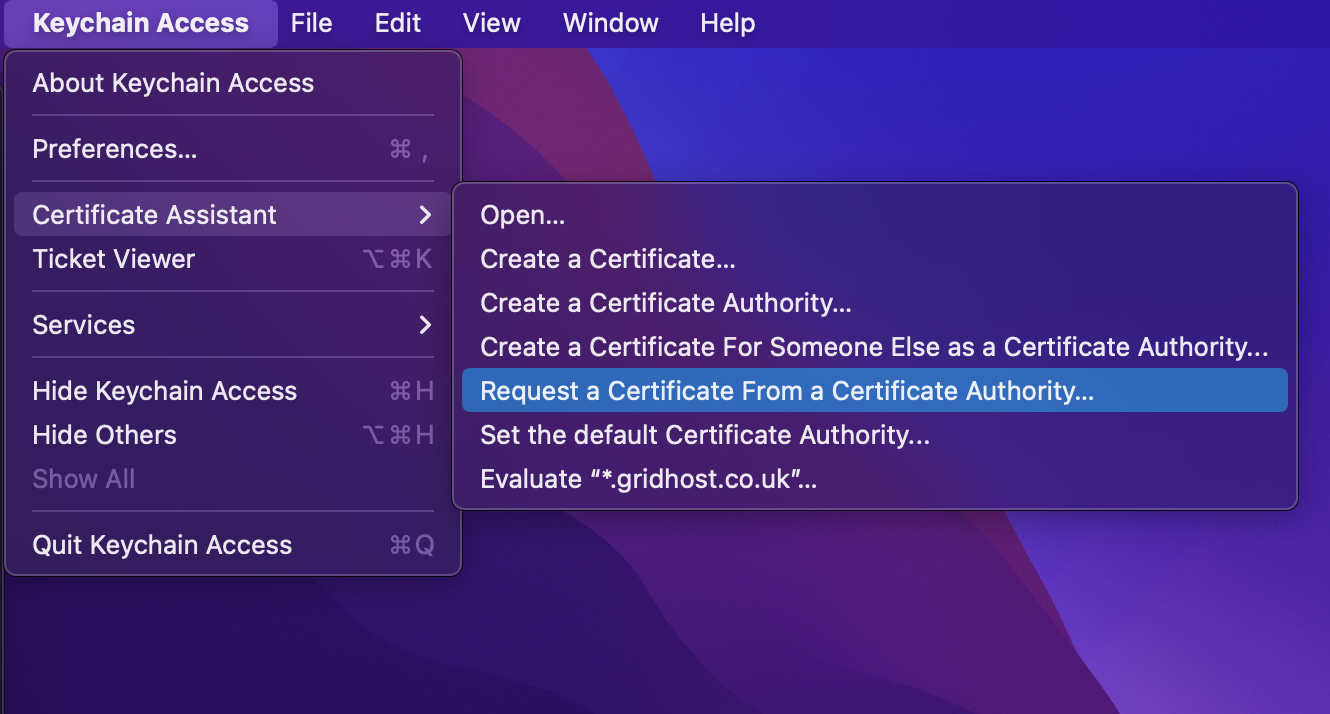
- Open Keychain Access
- Select Keychain Access > Certificate Assistant > Request a Certificate From a Certificate Authority… from the menu.
- Enter
email address,Common Name, check theSaved to diskradio button and click continue.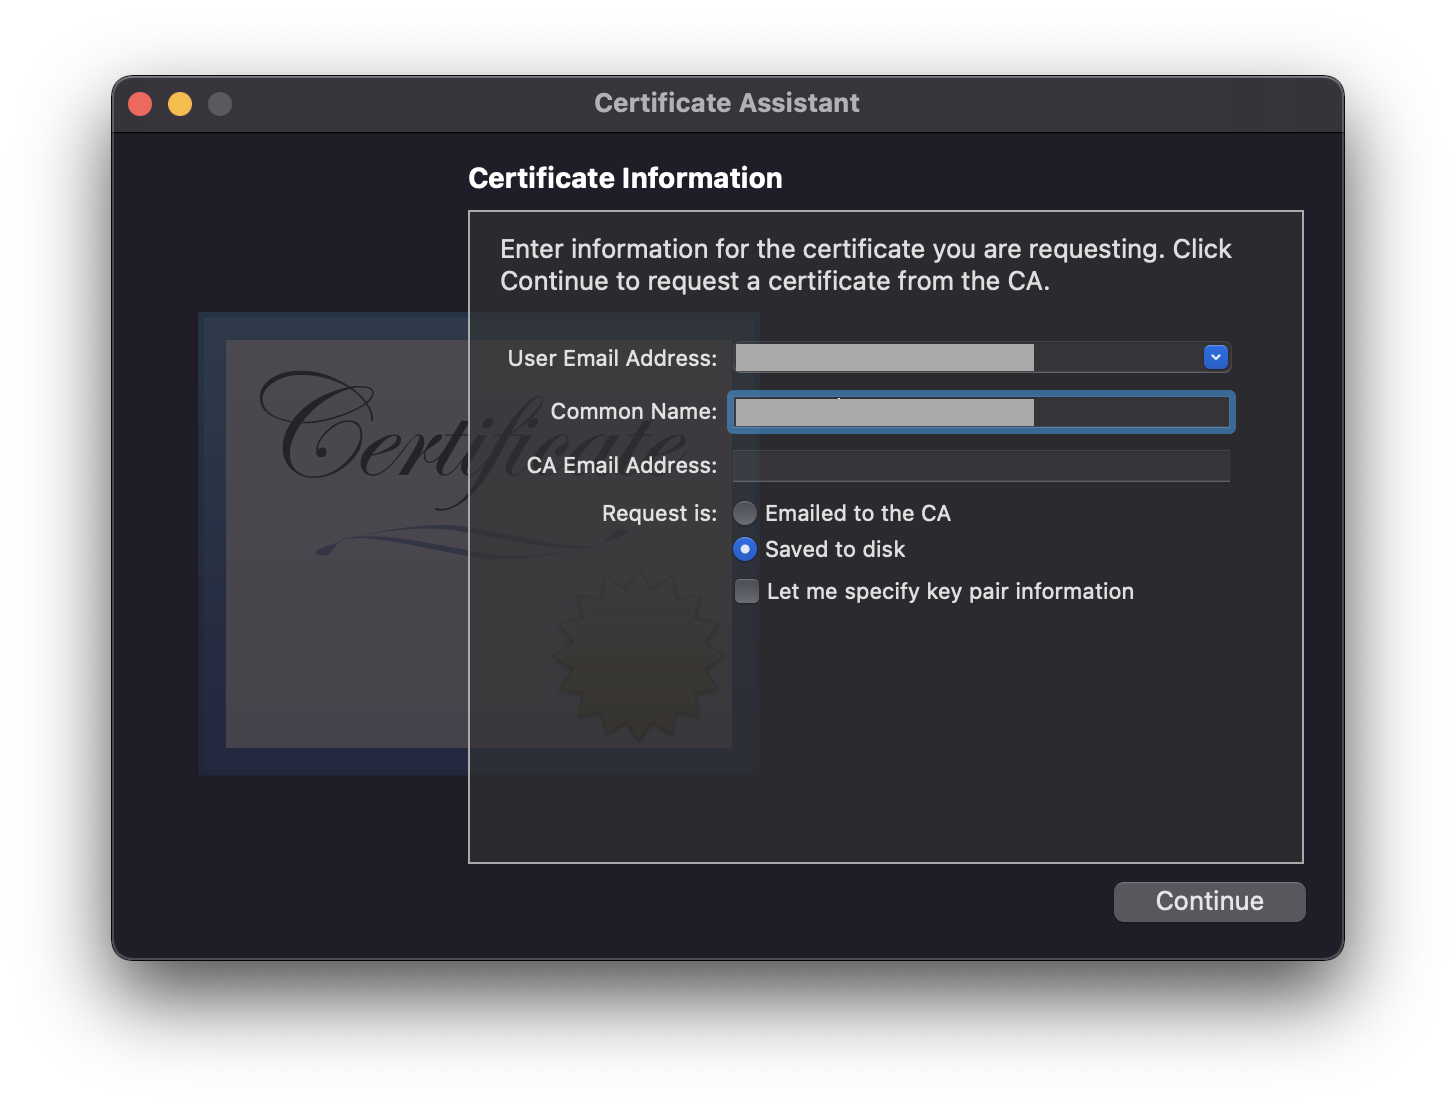
- Save CSR - A dialog would appear once you click continue
3. Create an App Store Production Certificate
- Goto Developer Portal
- Click
Certificates, Identifiers & Profiles - Create a New Certificate
- Select
iOS Distribution (App Store and Ad Hoc)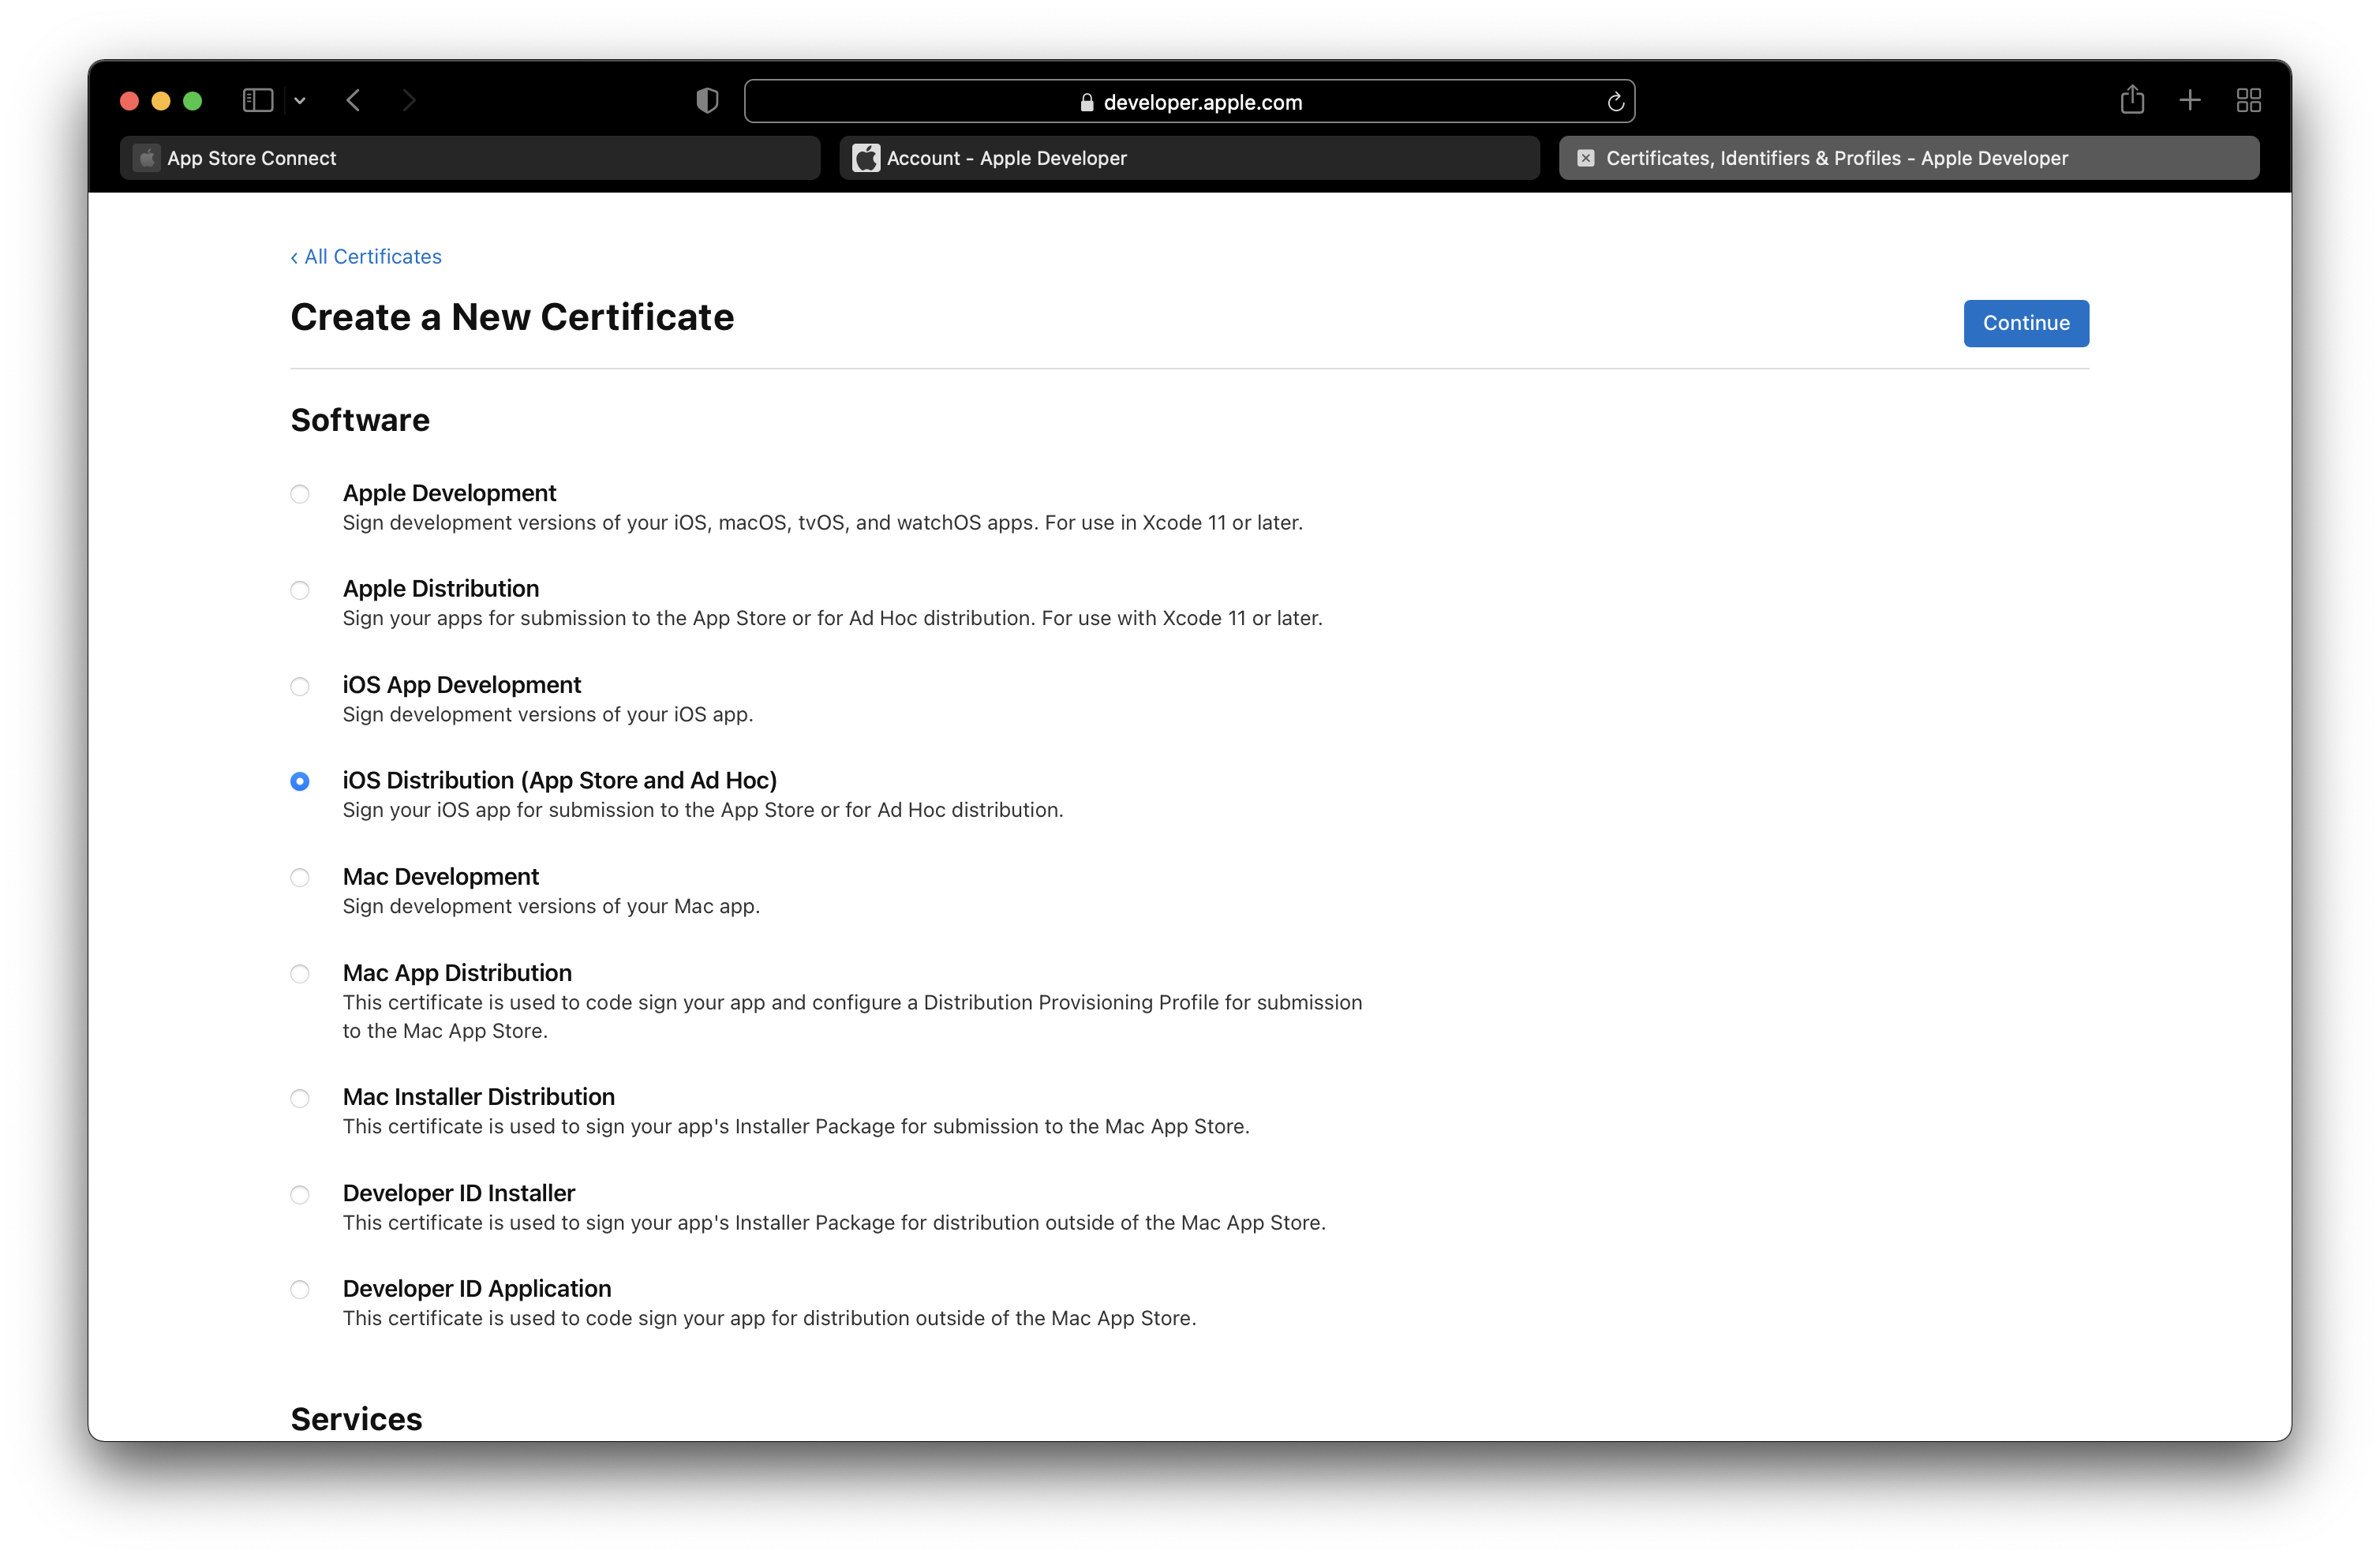
- Click on
Choose Fileto upload theCSRfile that was created using Keychain’sCertificateAssistant` and Click Continue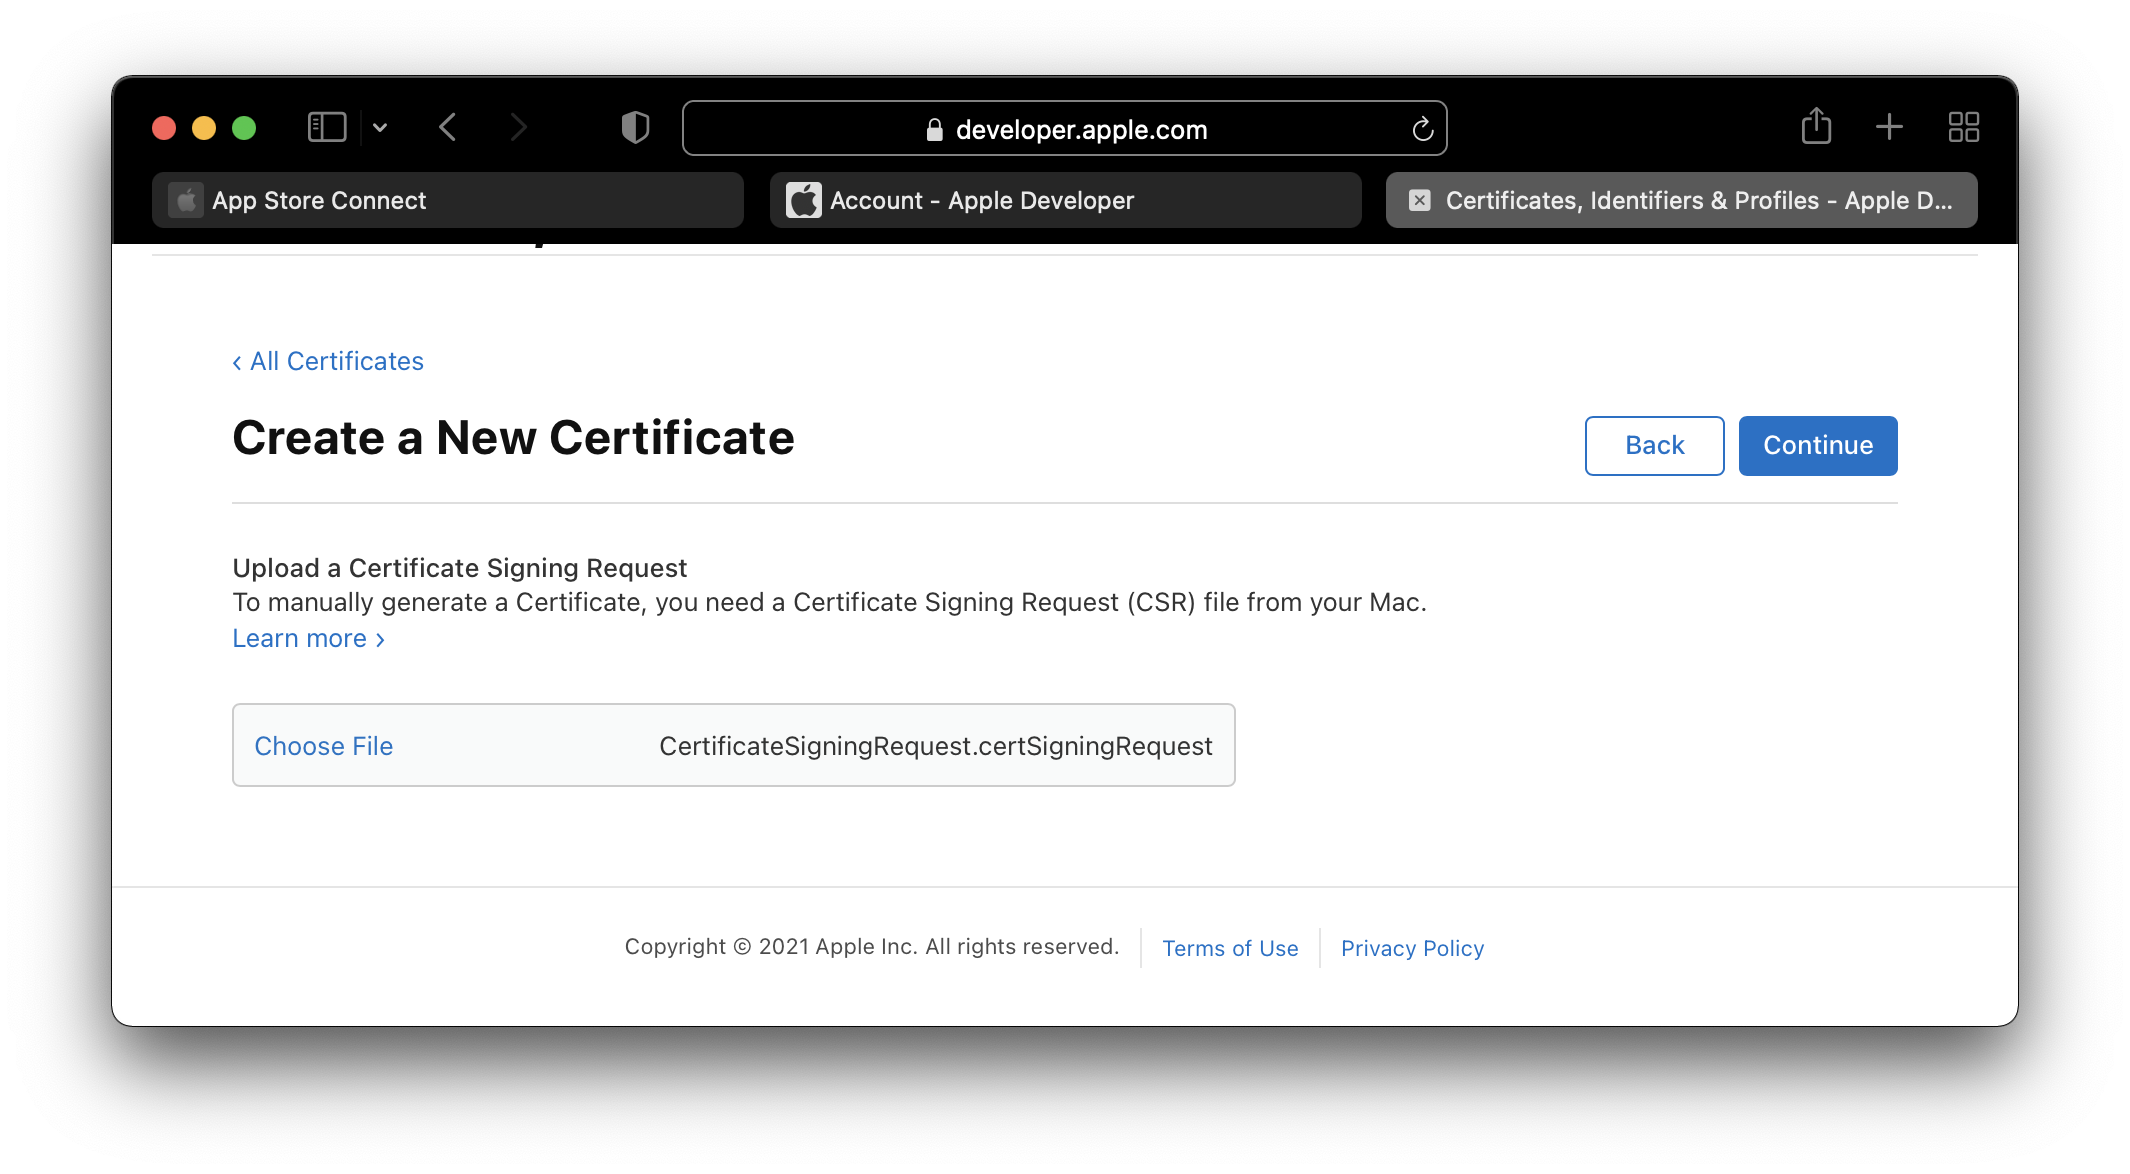
- Now, you can
Downloadthe generated iOS Distribution Certificate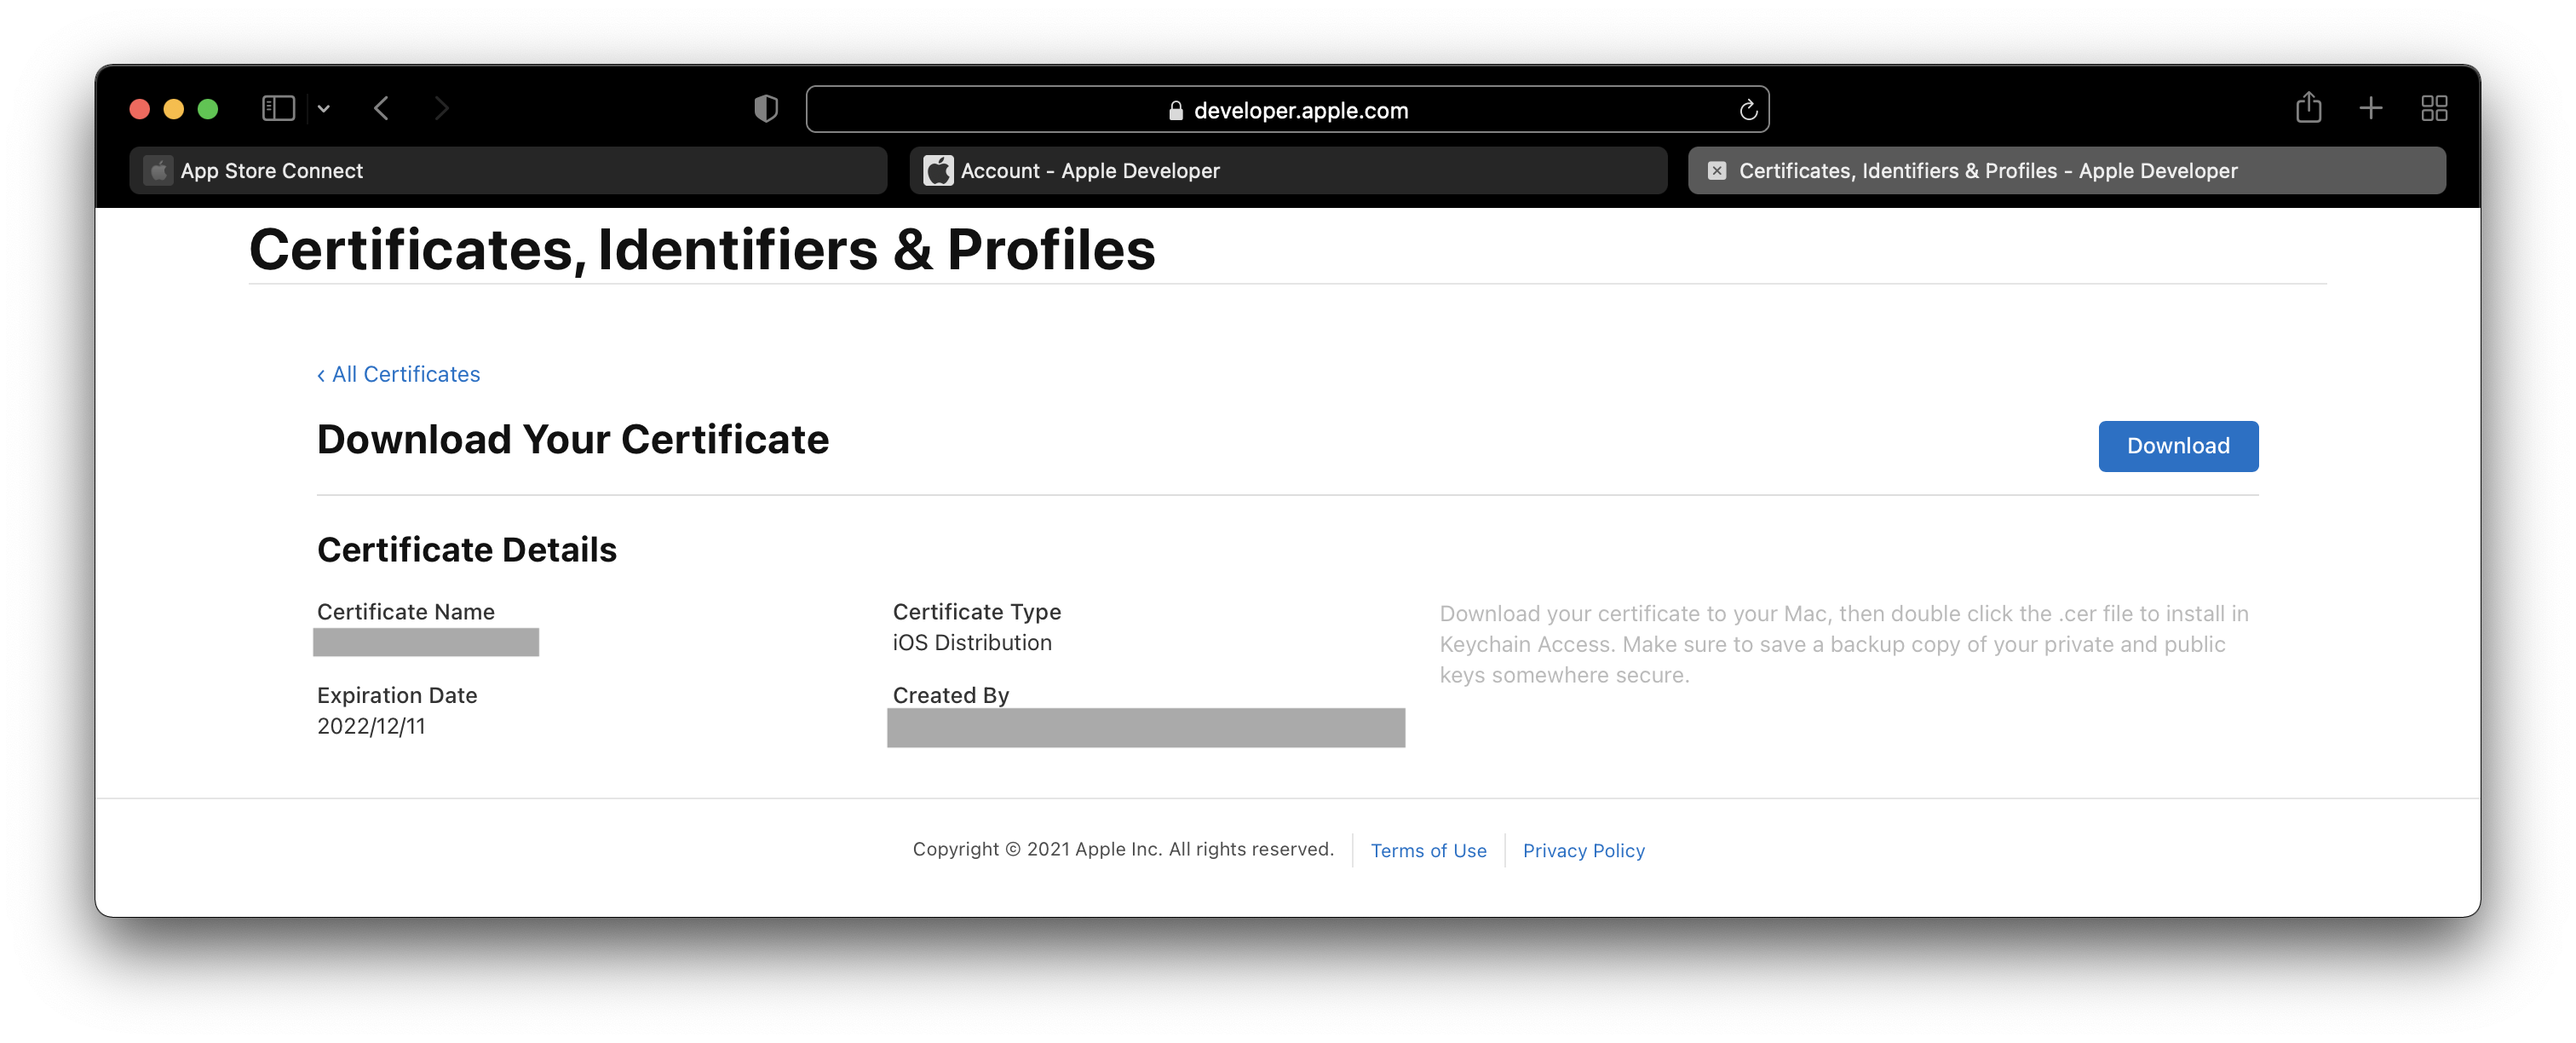
4. Create a Production Provisioning Profile
- Goto Developer Portal
- Click on
Profilesand generate a new one - Check
App Storeradio button and clickContinue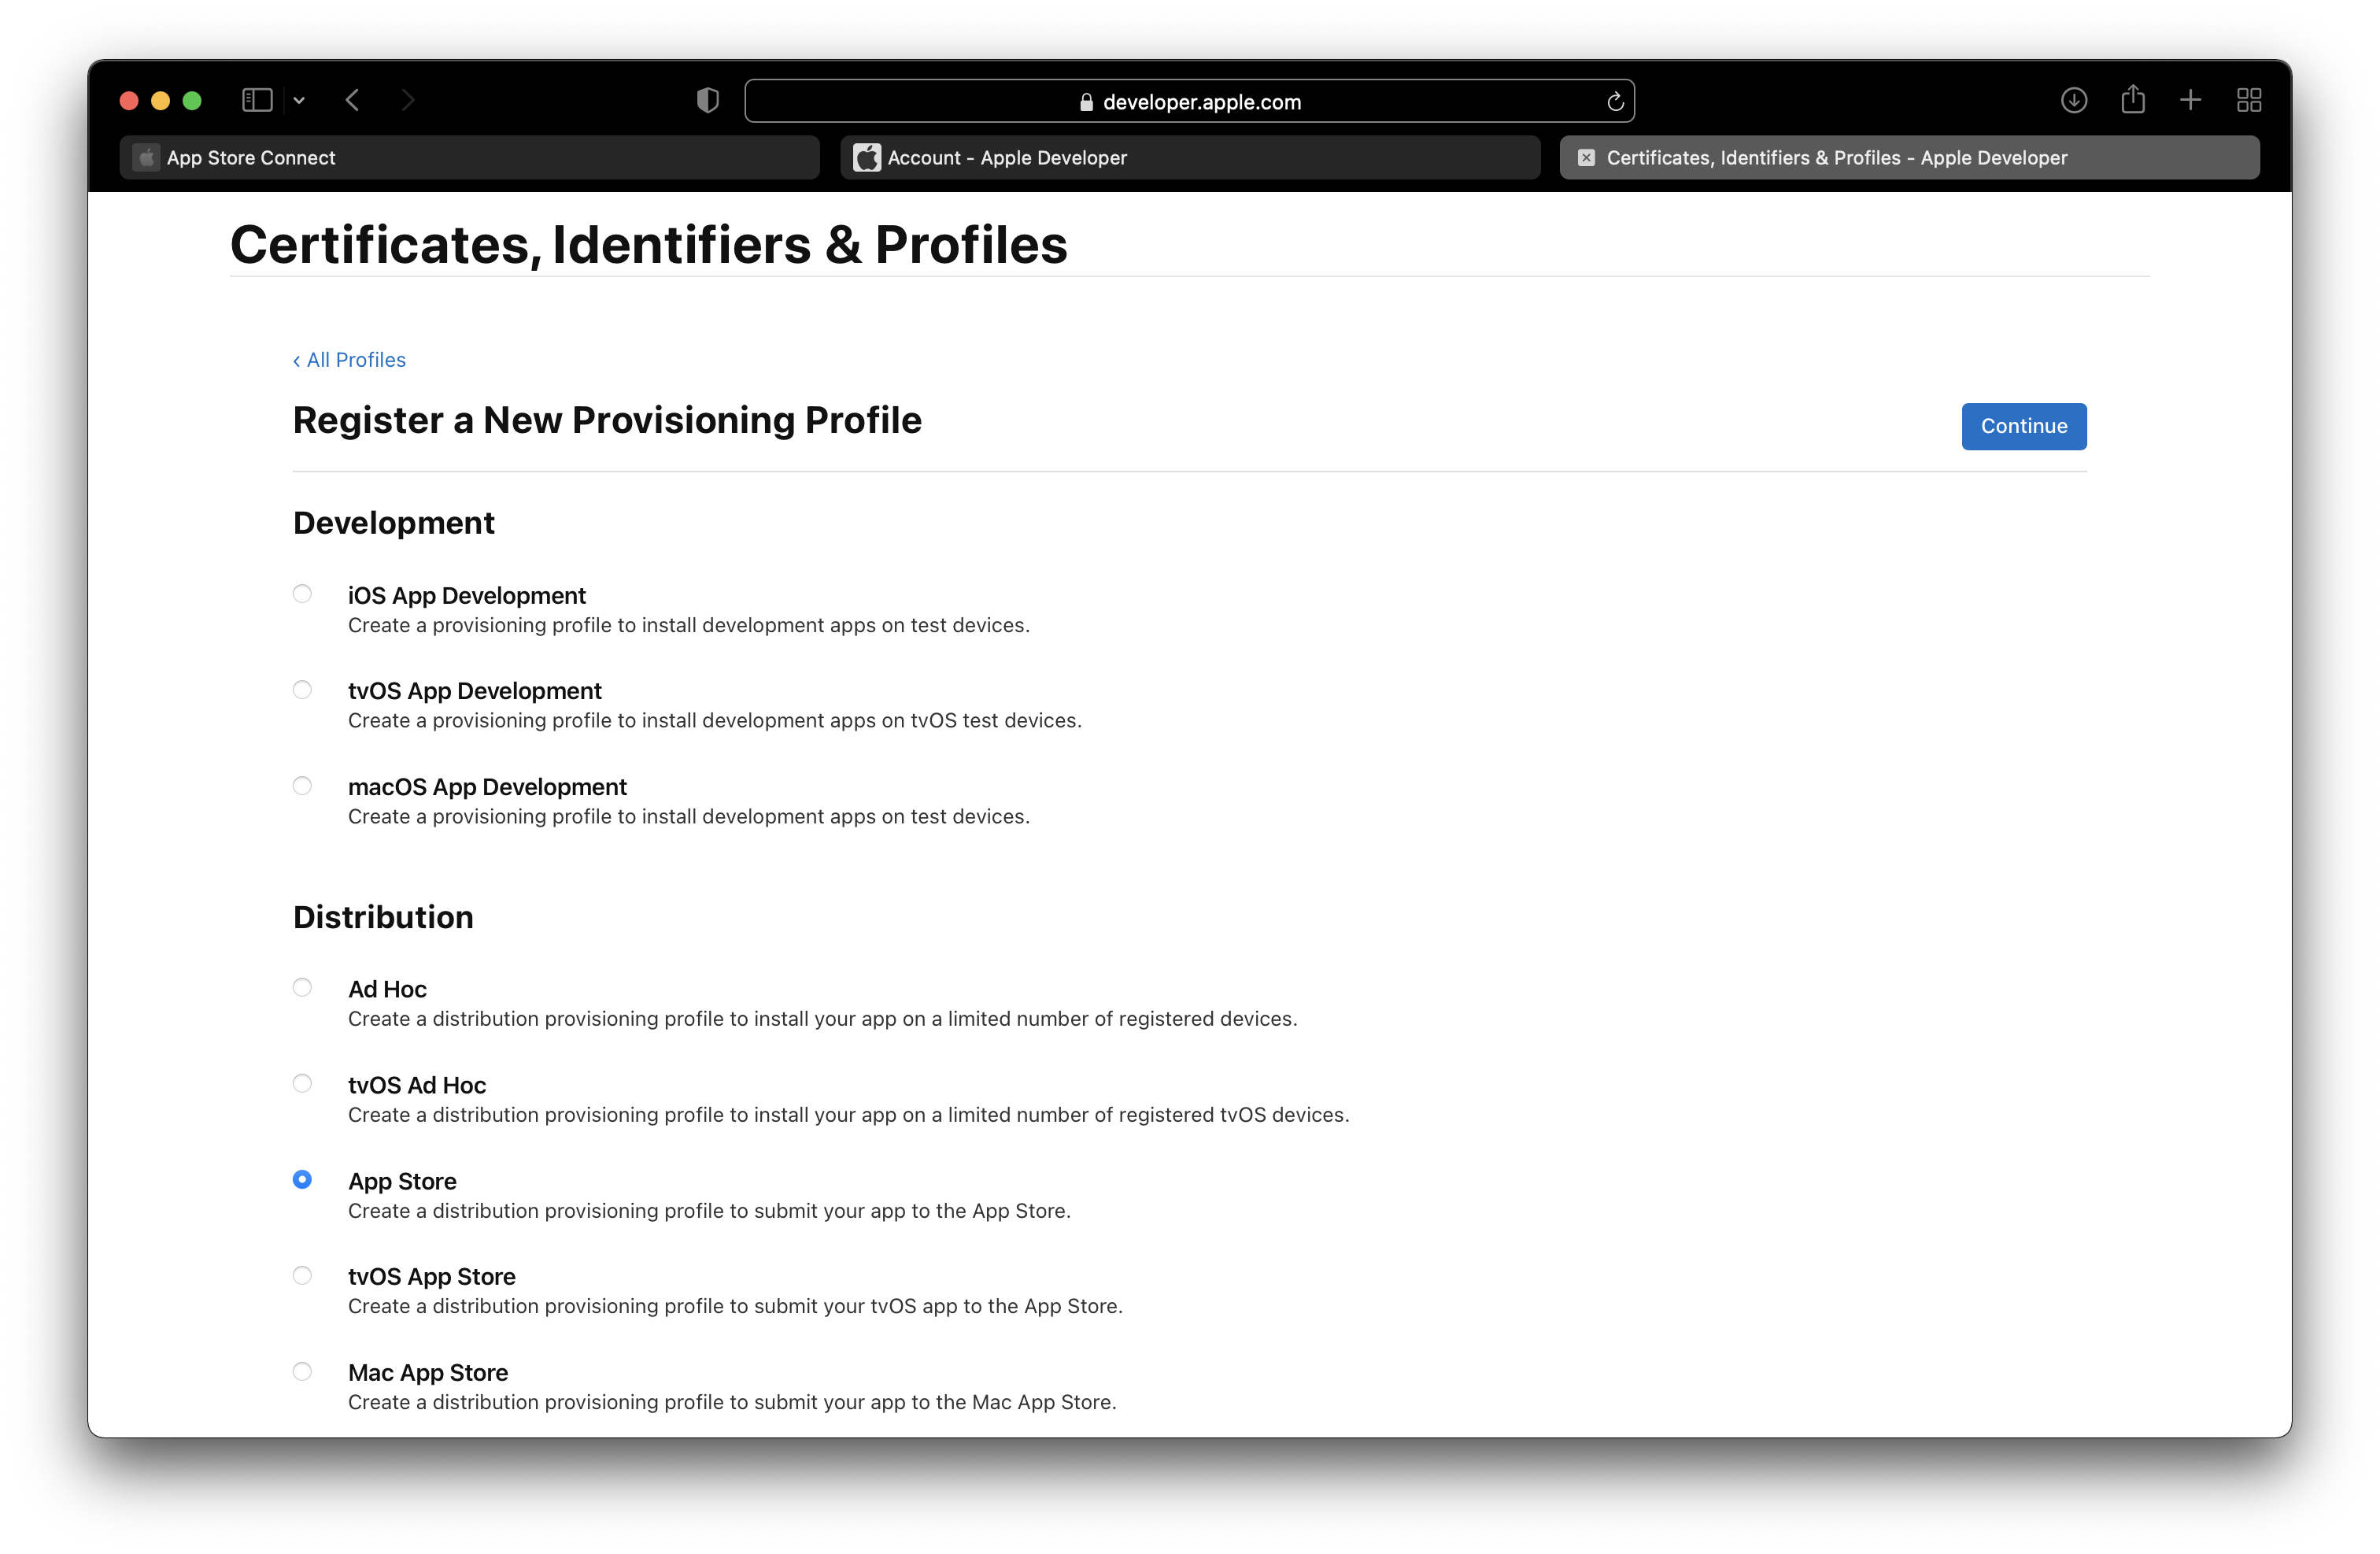
- Select the
App Idfrom the dropdown list and clickContinue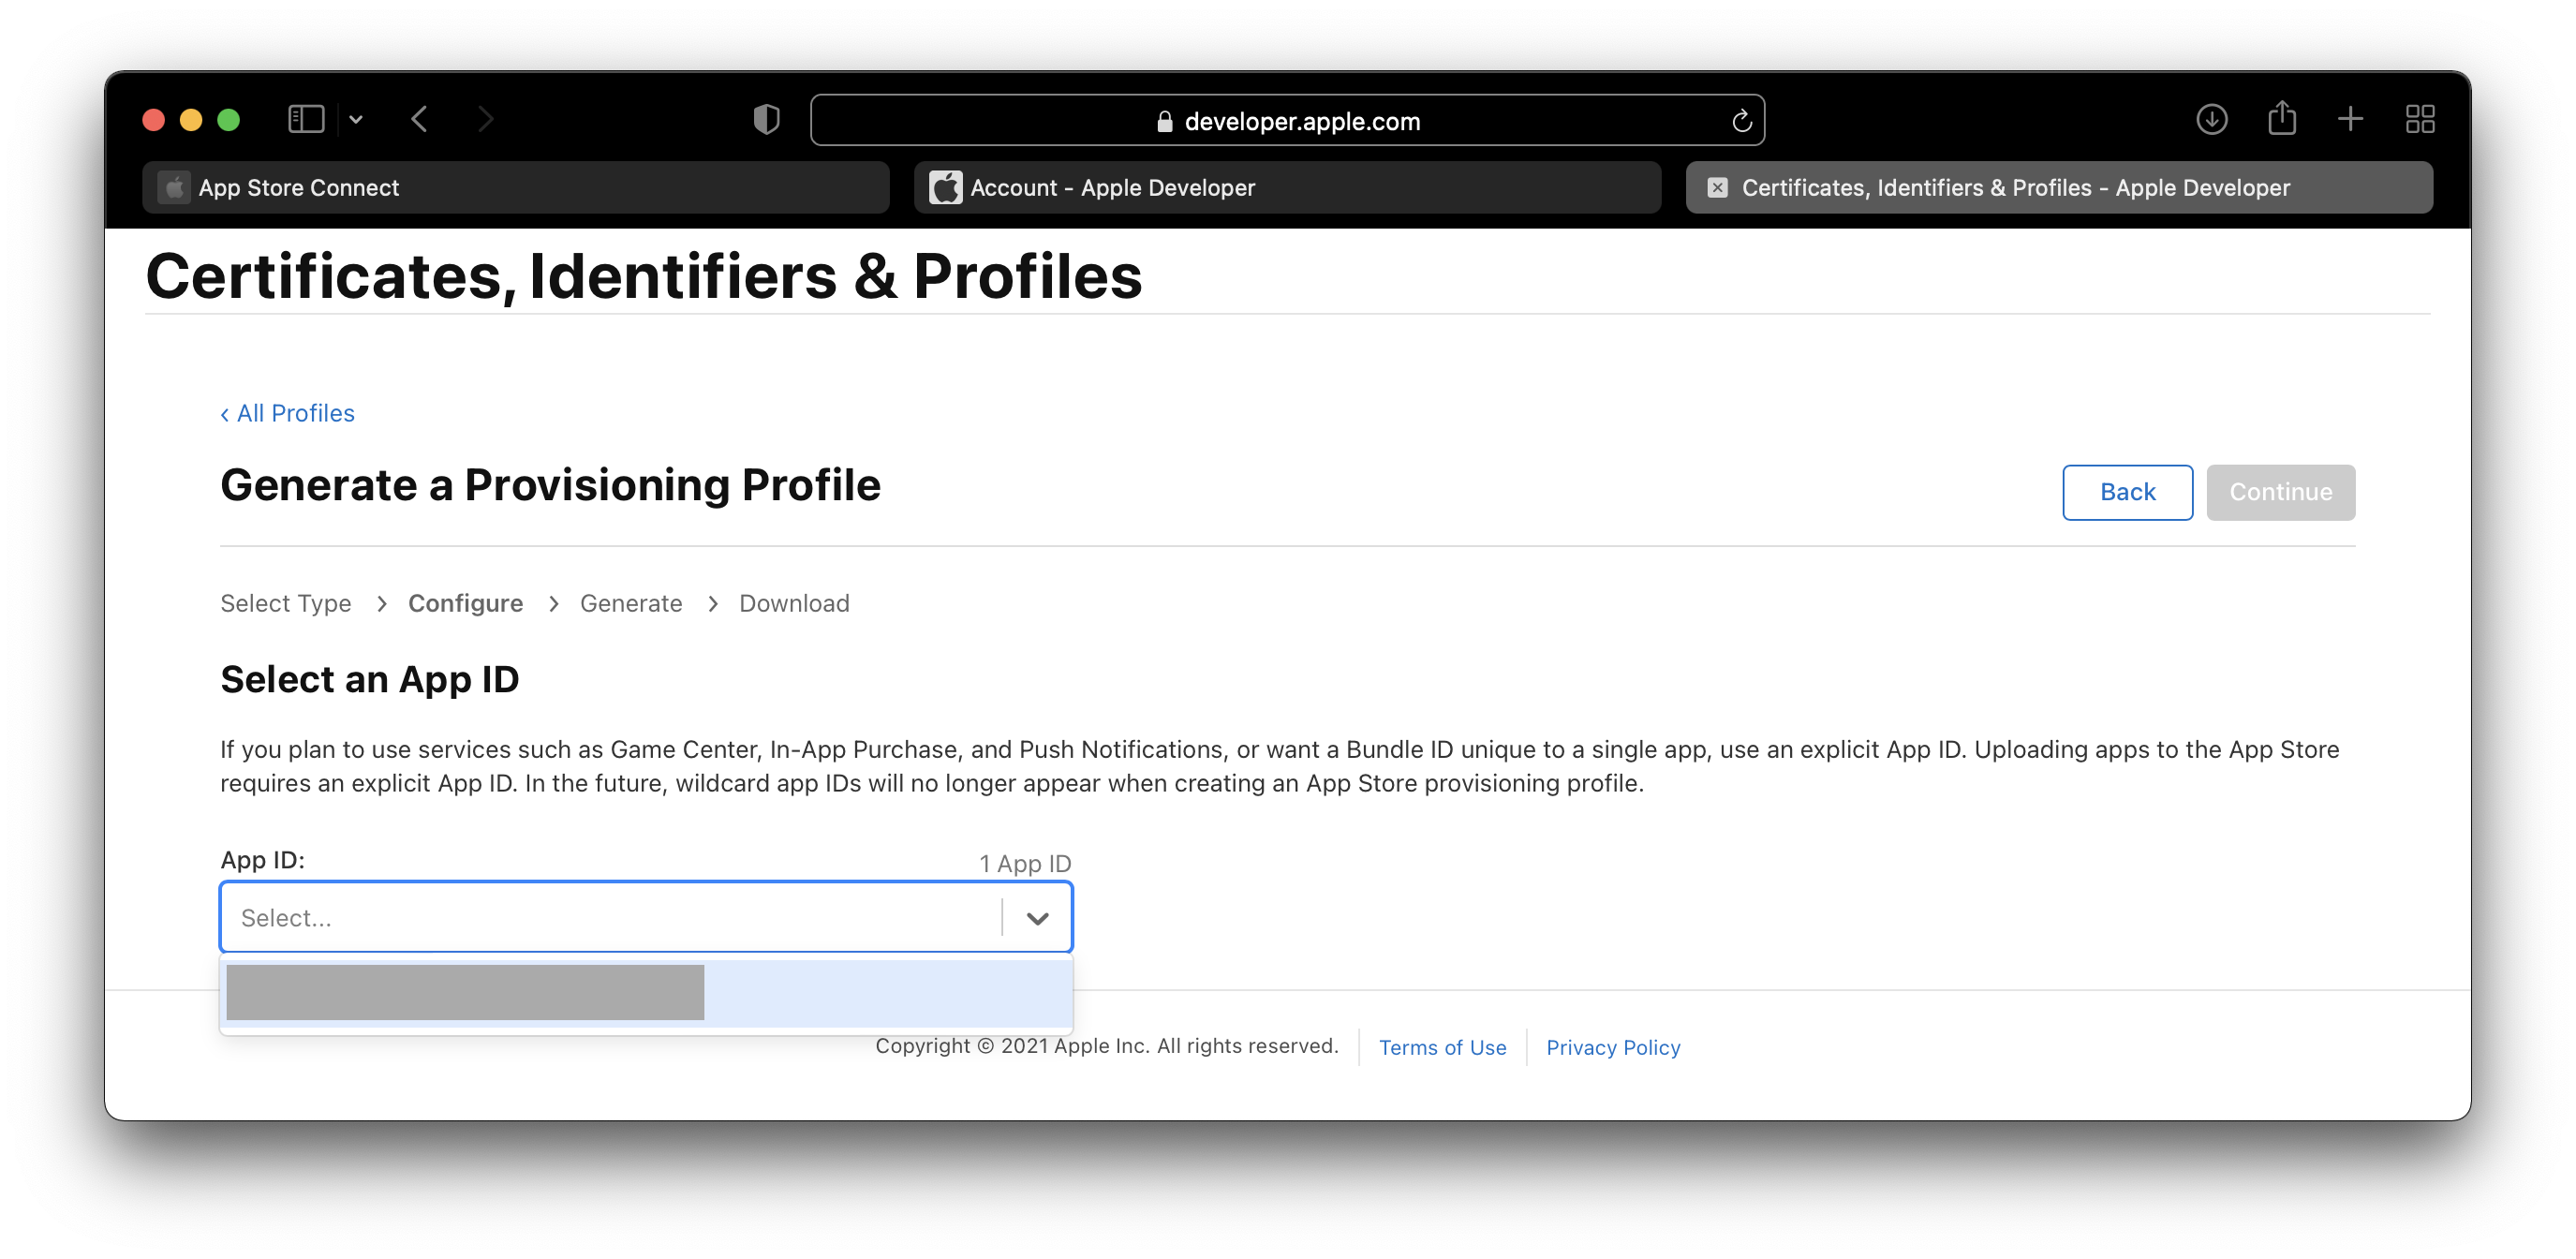
- Select the Distribution Certificate and click
Continue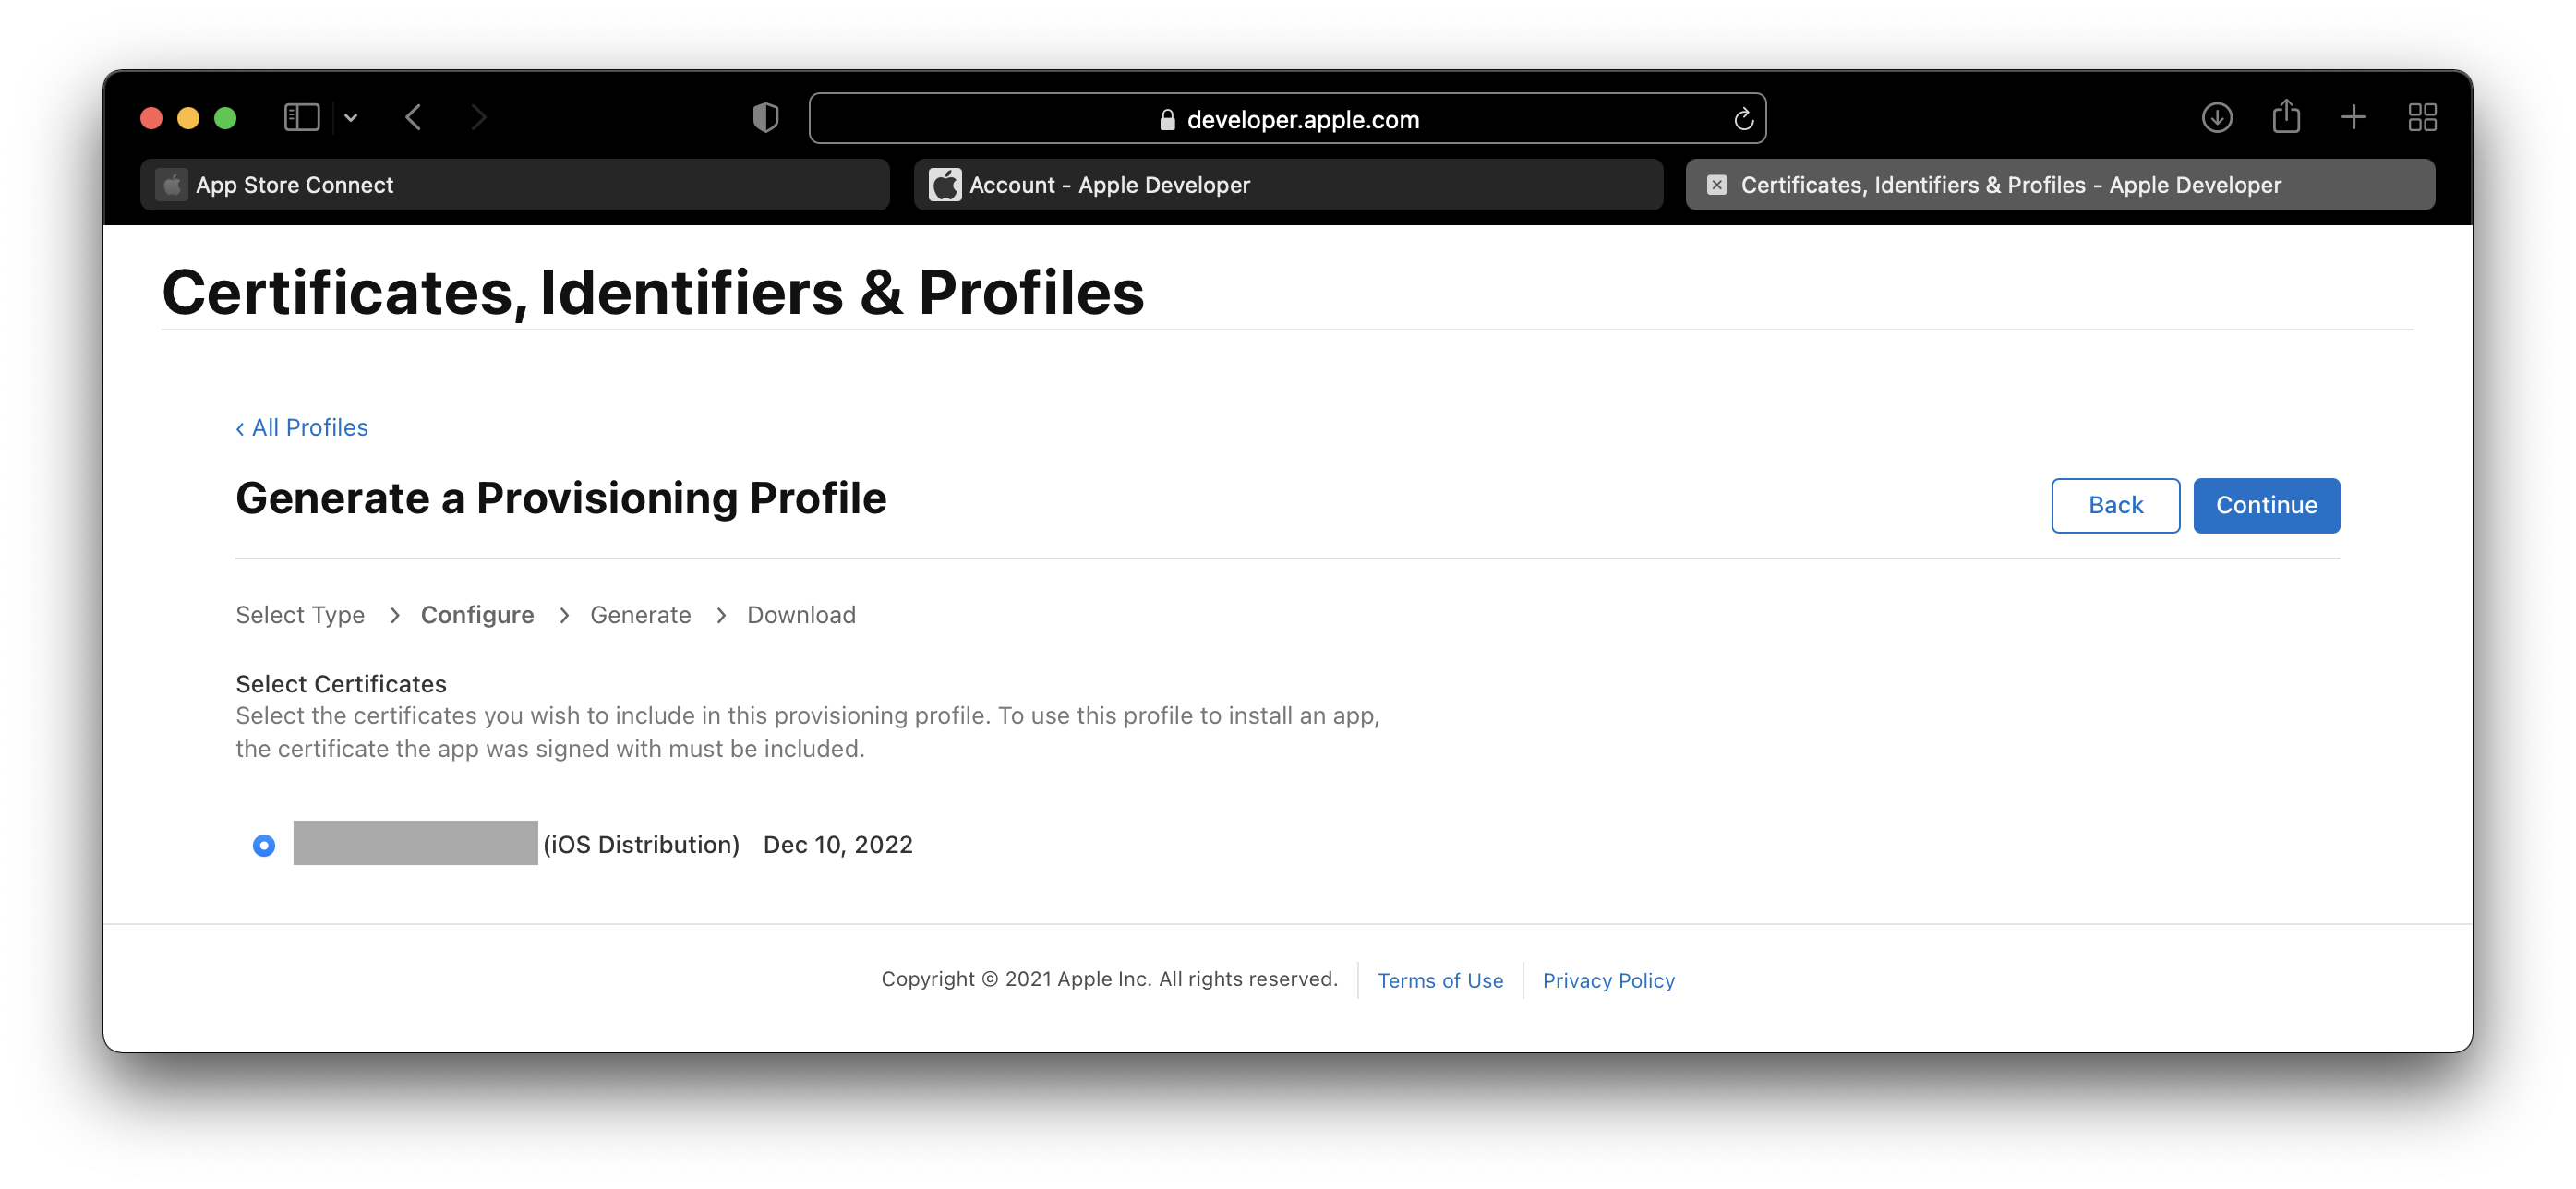
- Enter a name for the
Provising Profileand clickGenerate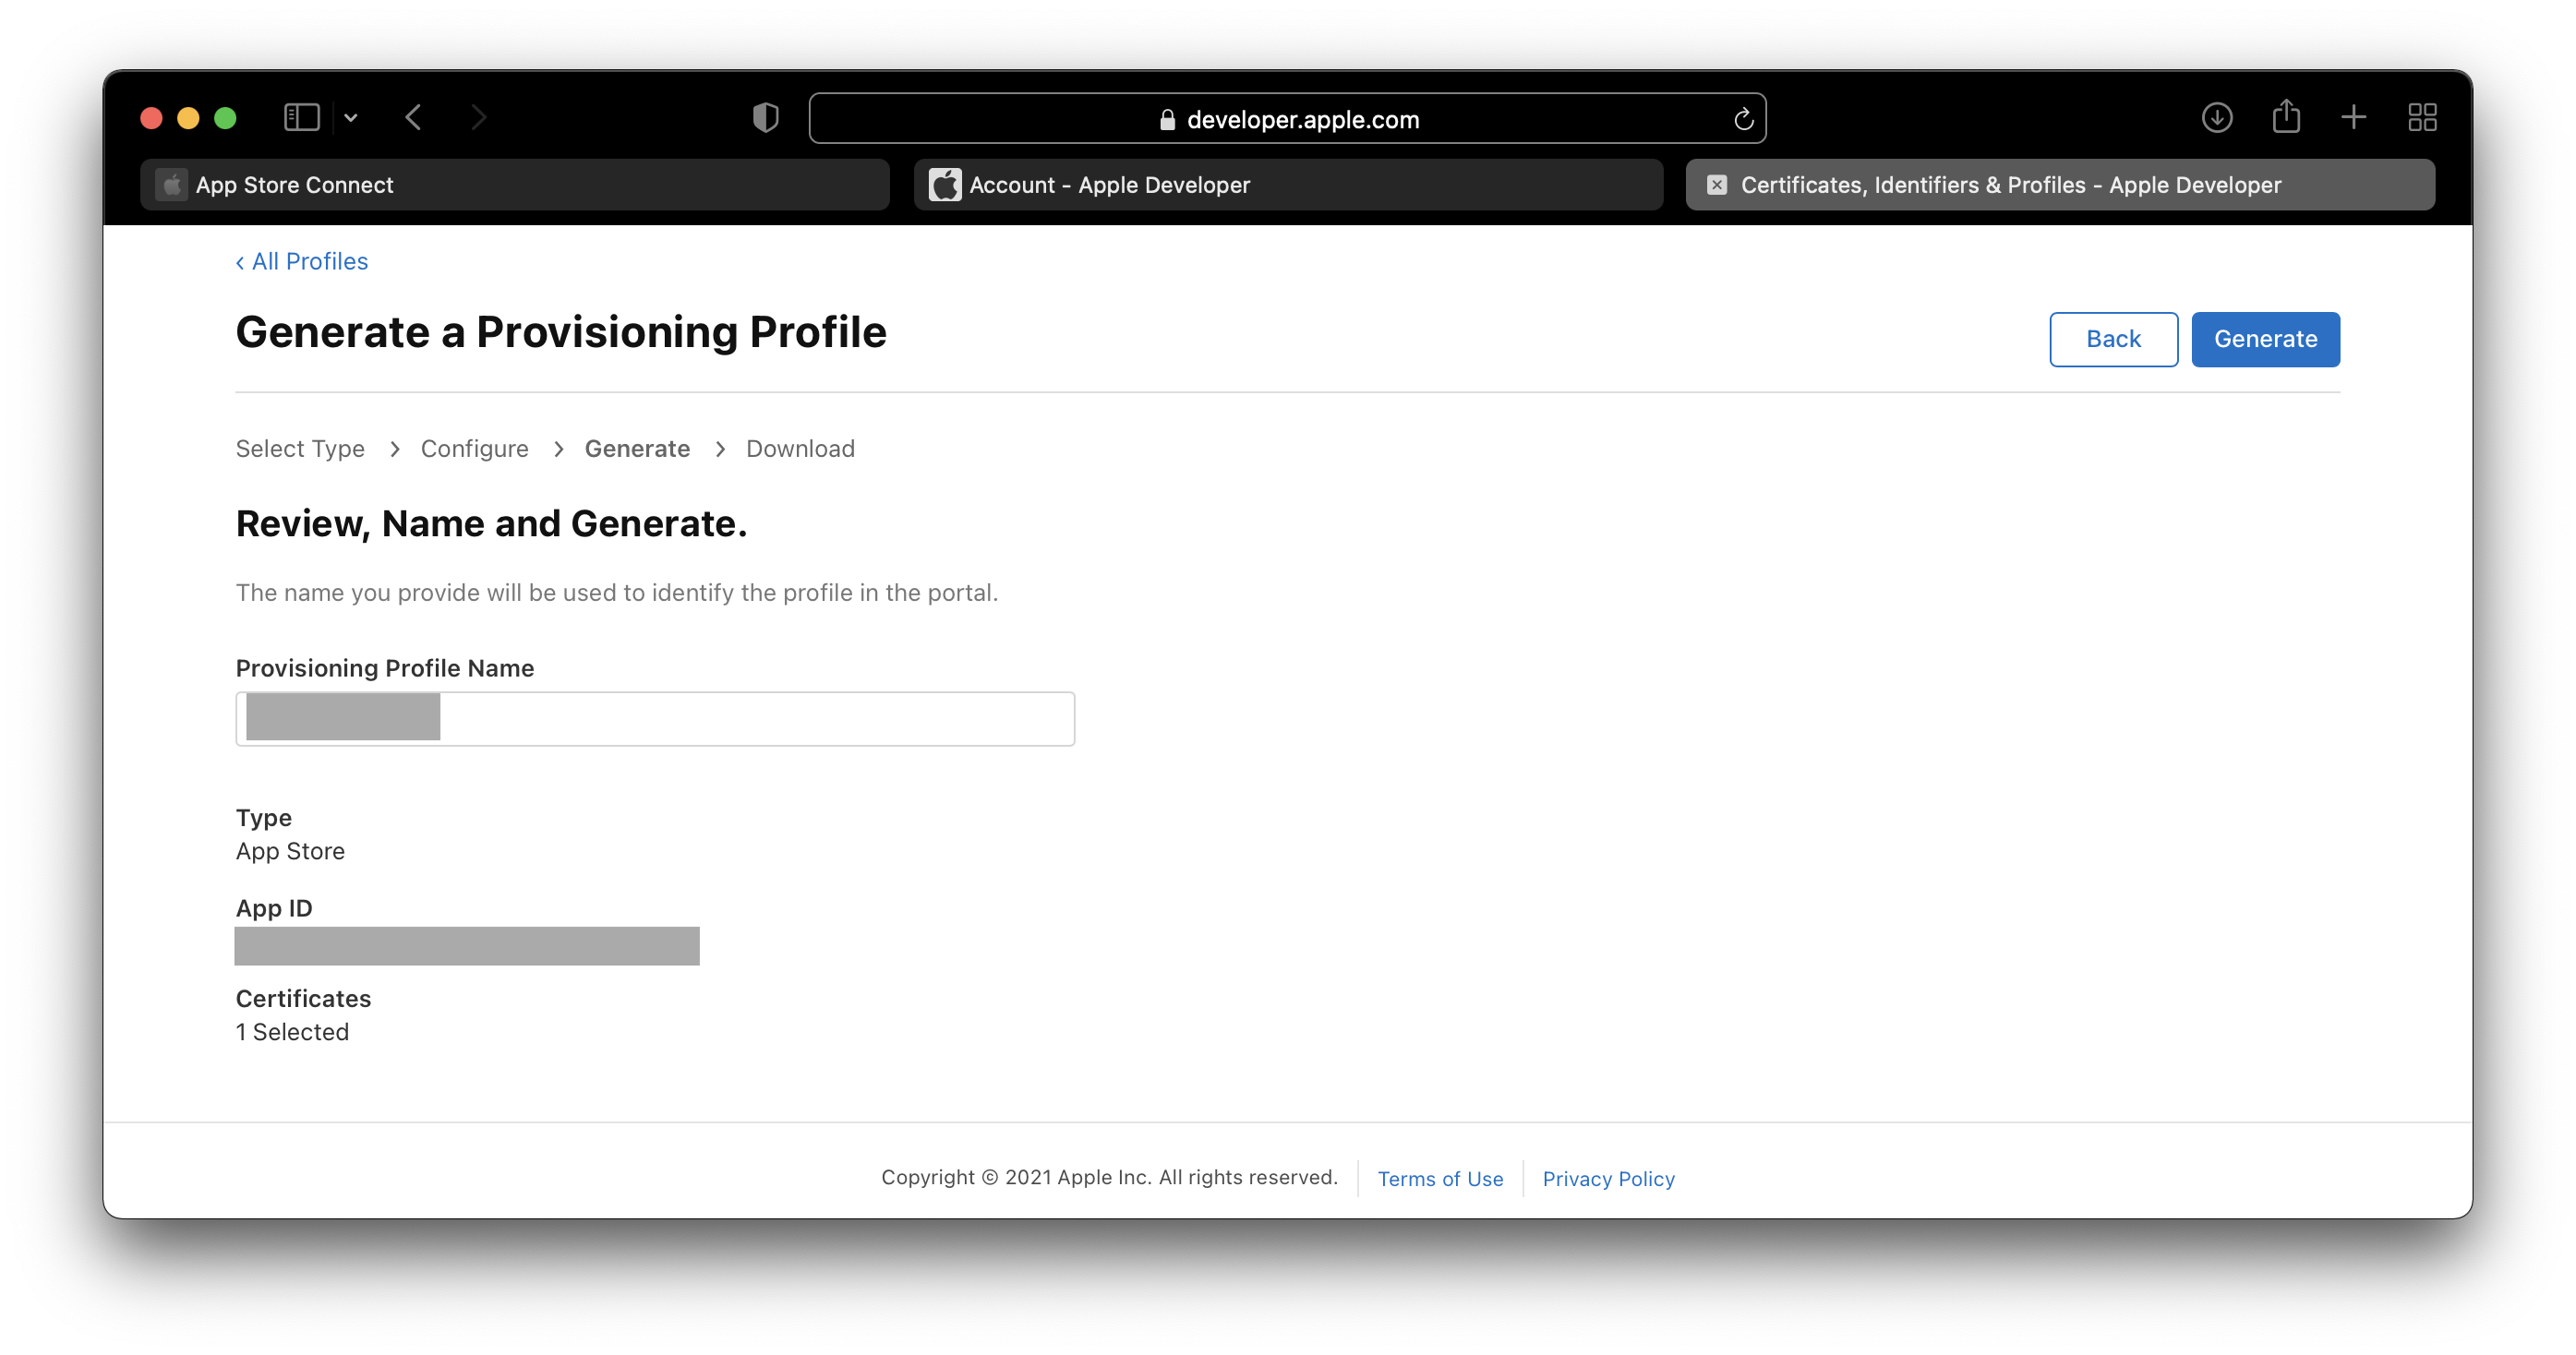
- Now, you can
Downloadthe generatedProvising Profile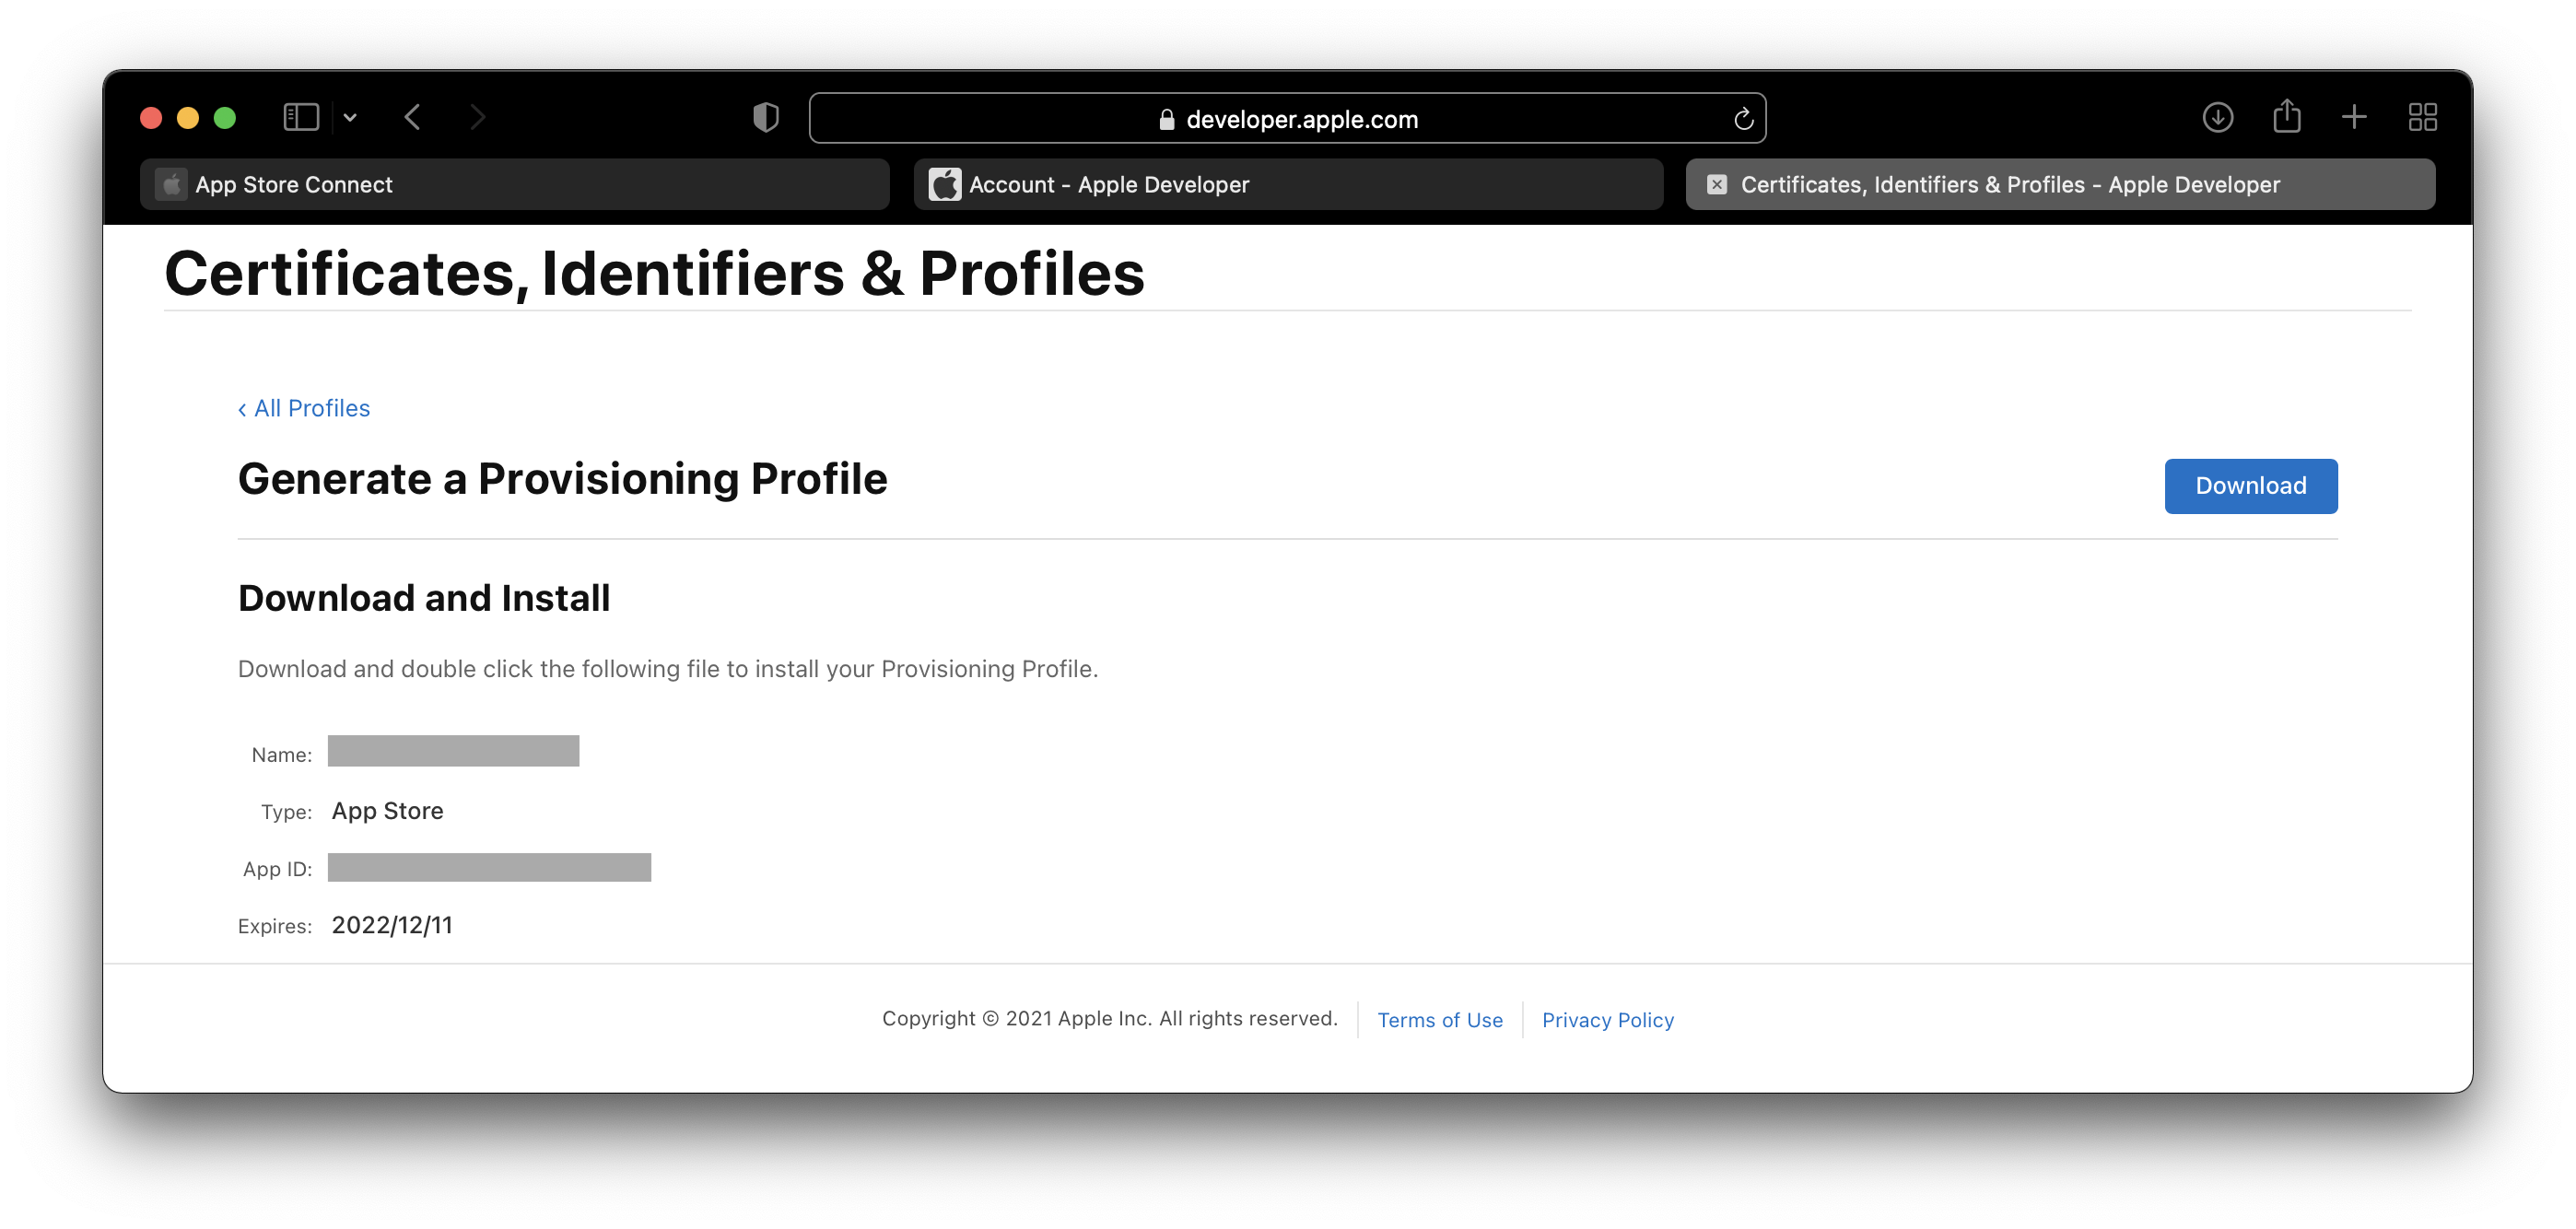
5. Create an app onto the App Store Connect
5.1 Click on ‘+’ Icon and create a new app, Fill in all the fields and click Create 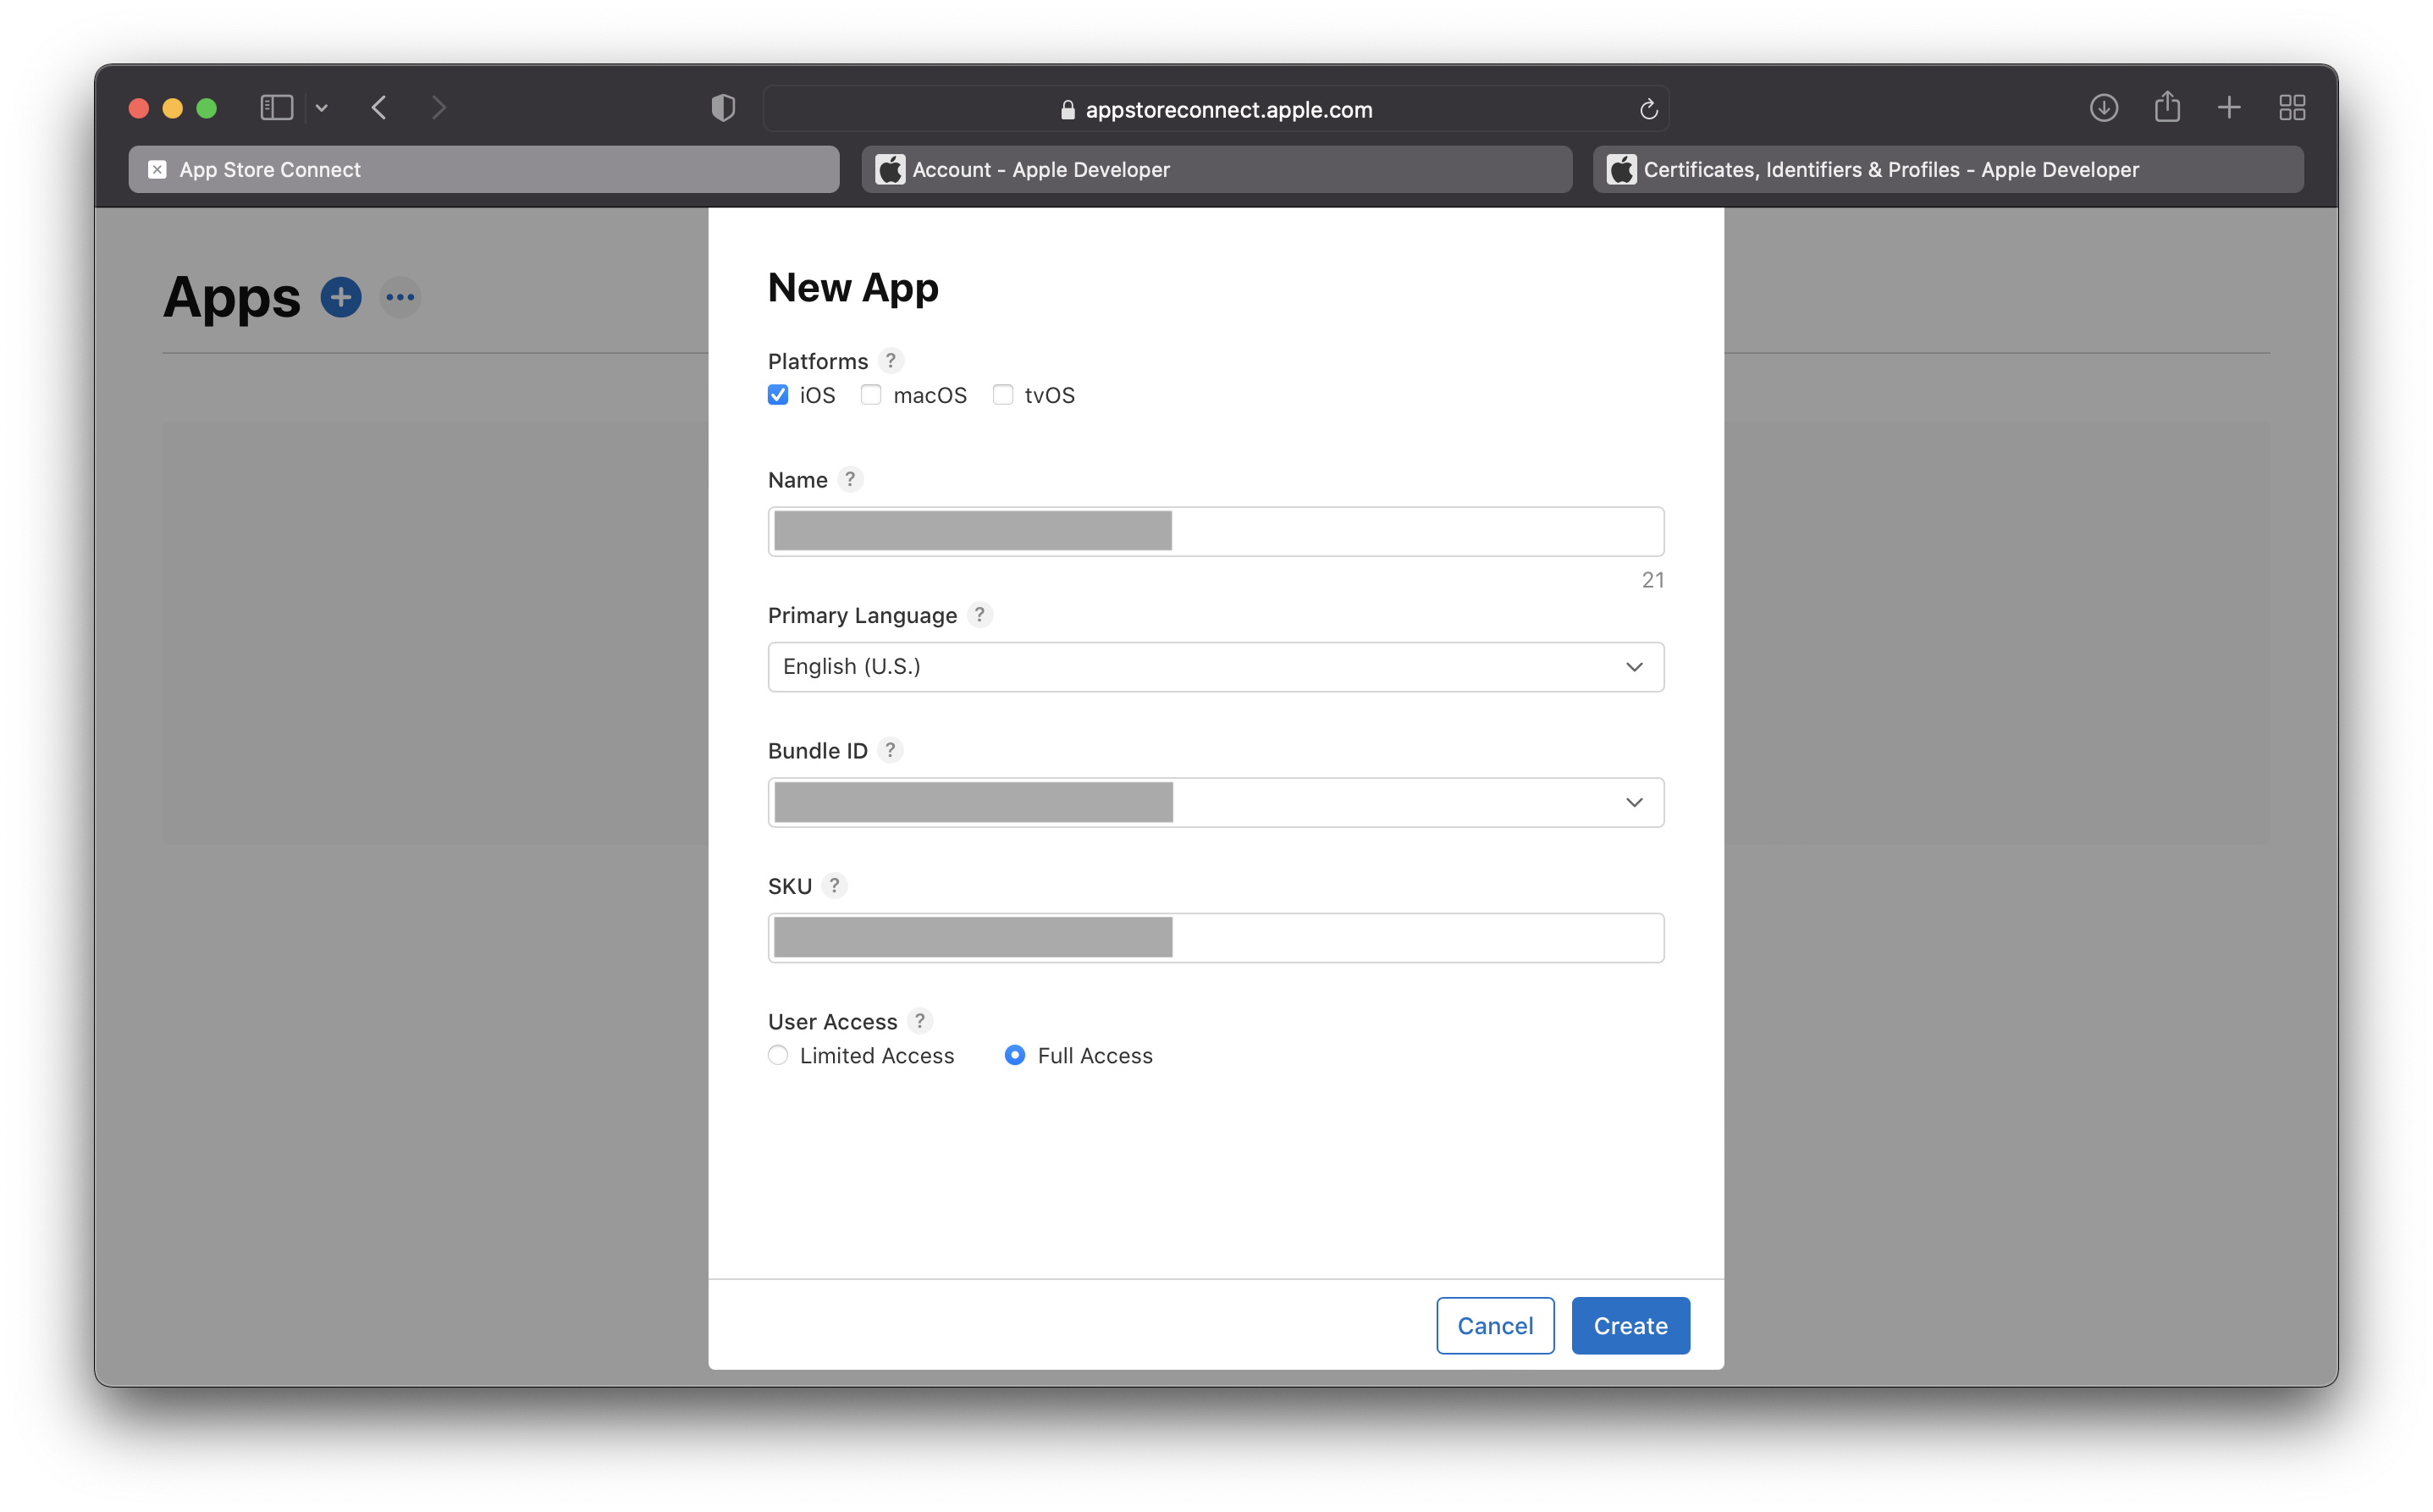
6. Upload the app binary with any Upload tools.
I’m using Xcode to upload the binary in this tutorial
- Select
Any iOS devicefrom the Device drop-down list - Click Product > Archive from the menu
- Once it is succefully archived click on
Distribute App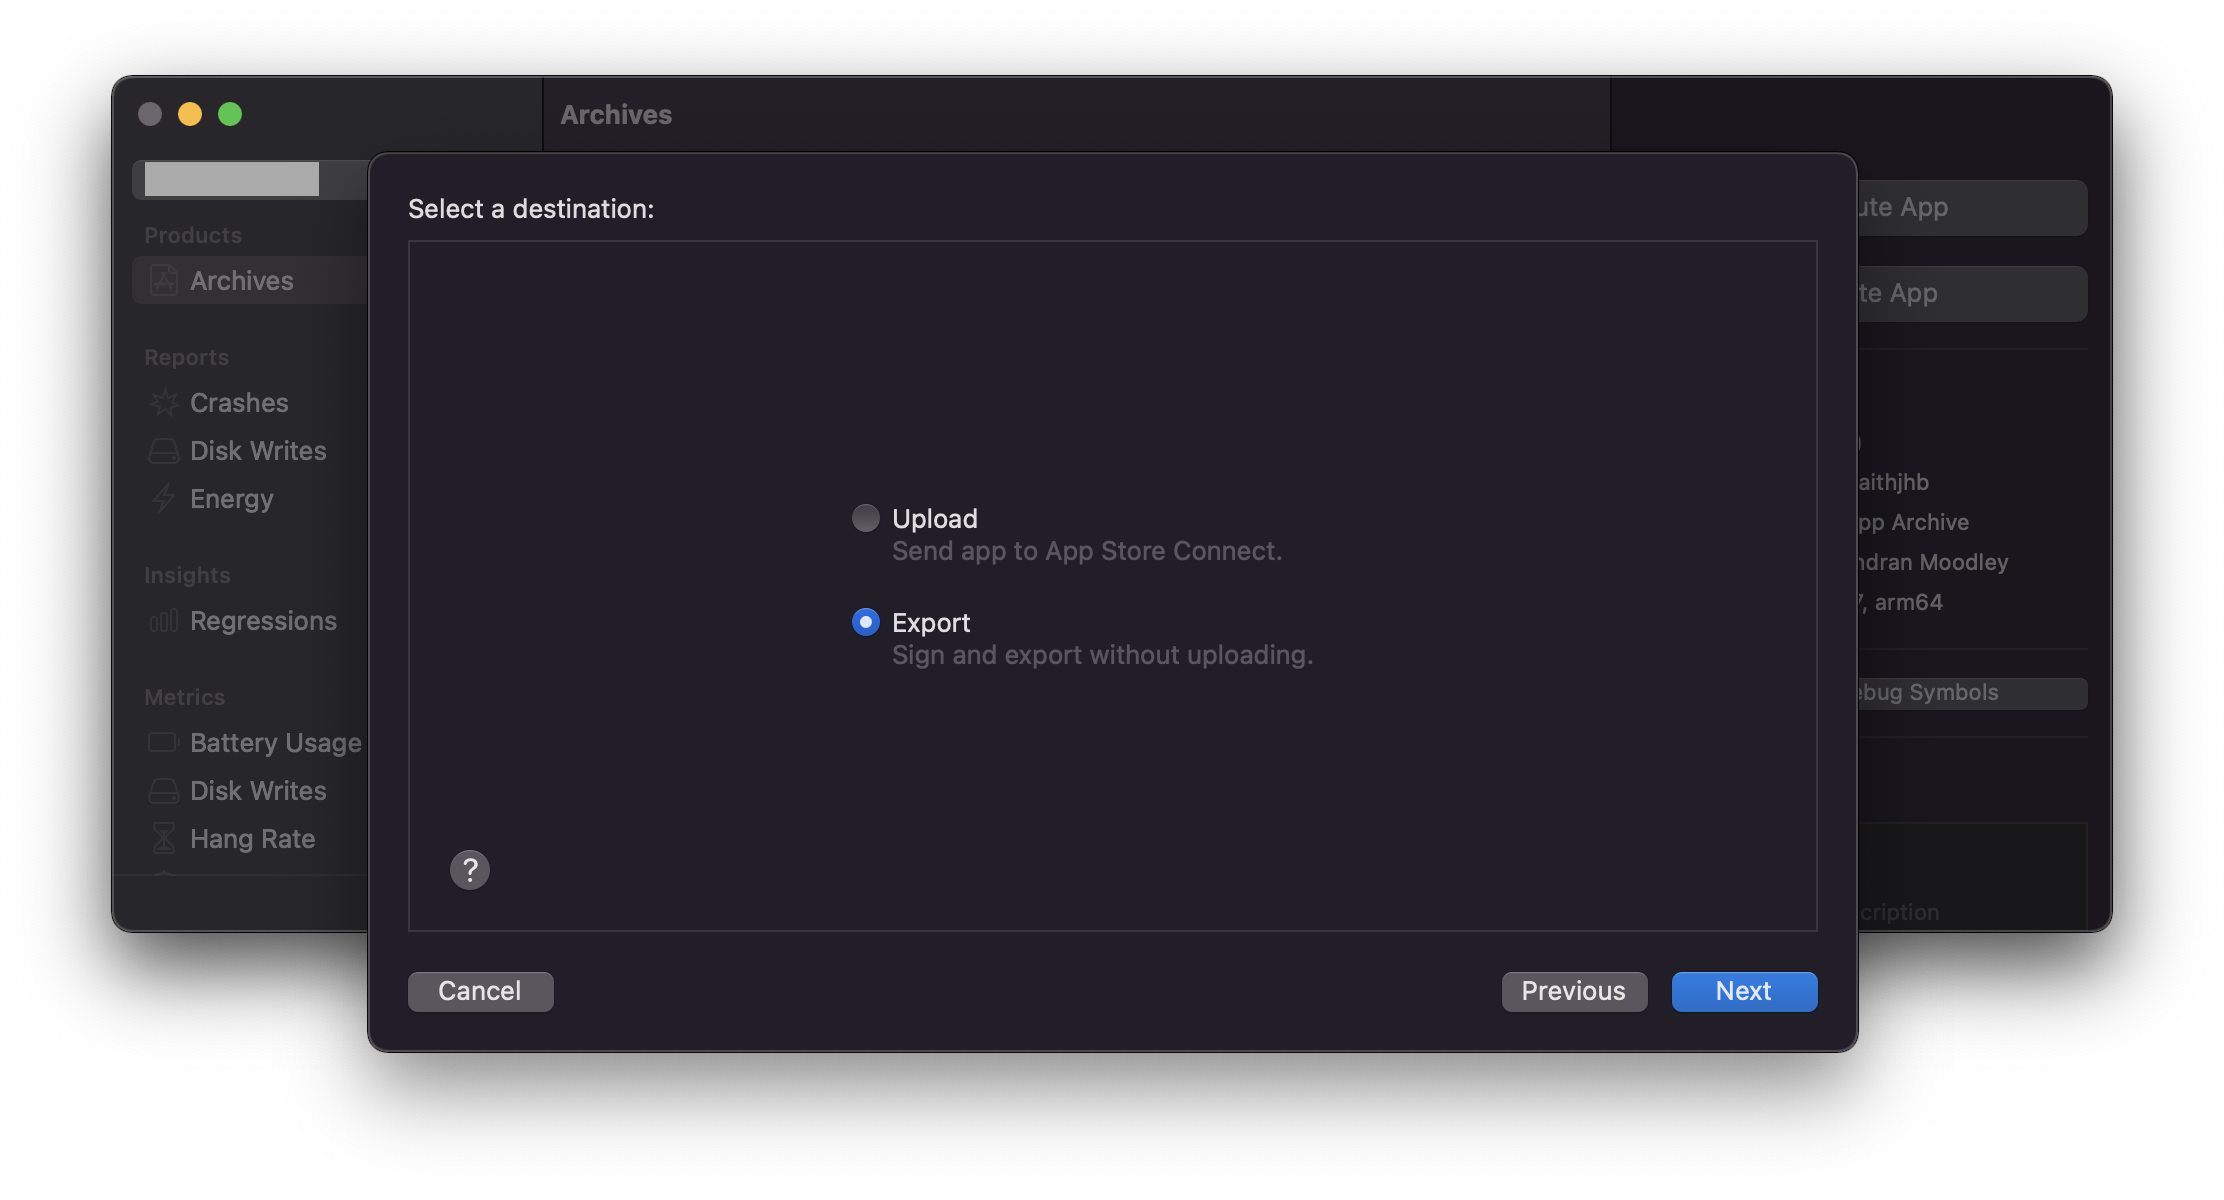
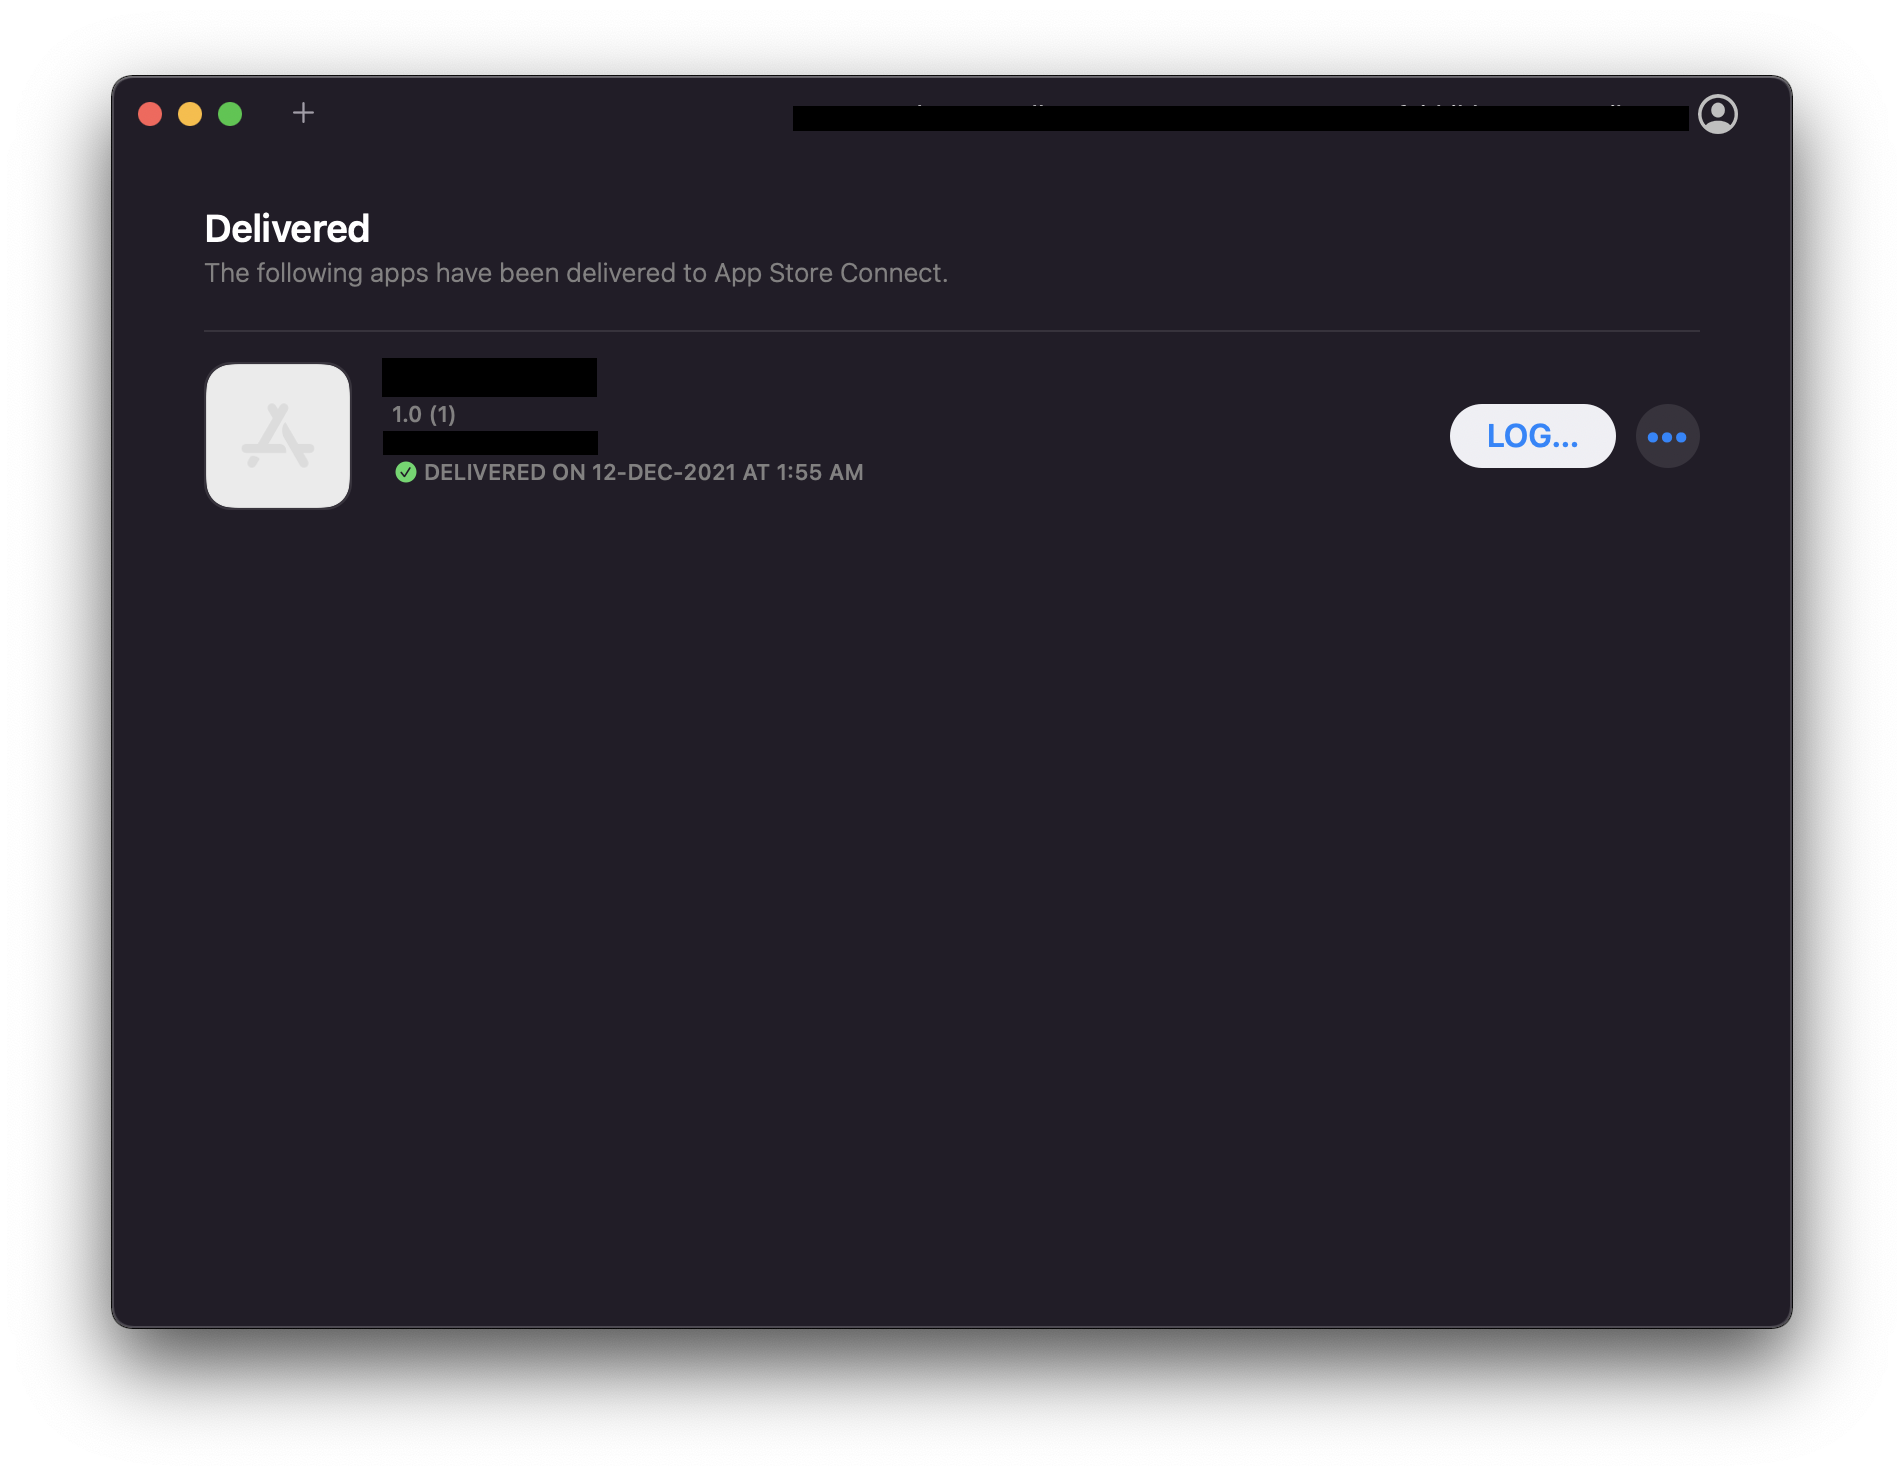
Note to Self: Tried uploading binary directly to App Store Connect but it was taking so long to upload. So I exported IPA and uploaded using Transporter.
7. Fill in the app’s metadata, version information and submit the app for review
Under the “App Store” tab in App Store Connect, in the “App Information” page you can add additional languages, categories, description your app’s Privacy Policy URL and select the build. Now you’re ready to Submit for Review.
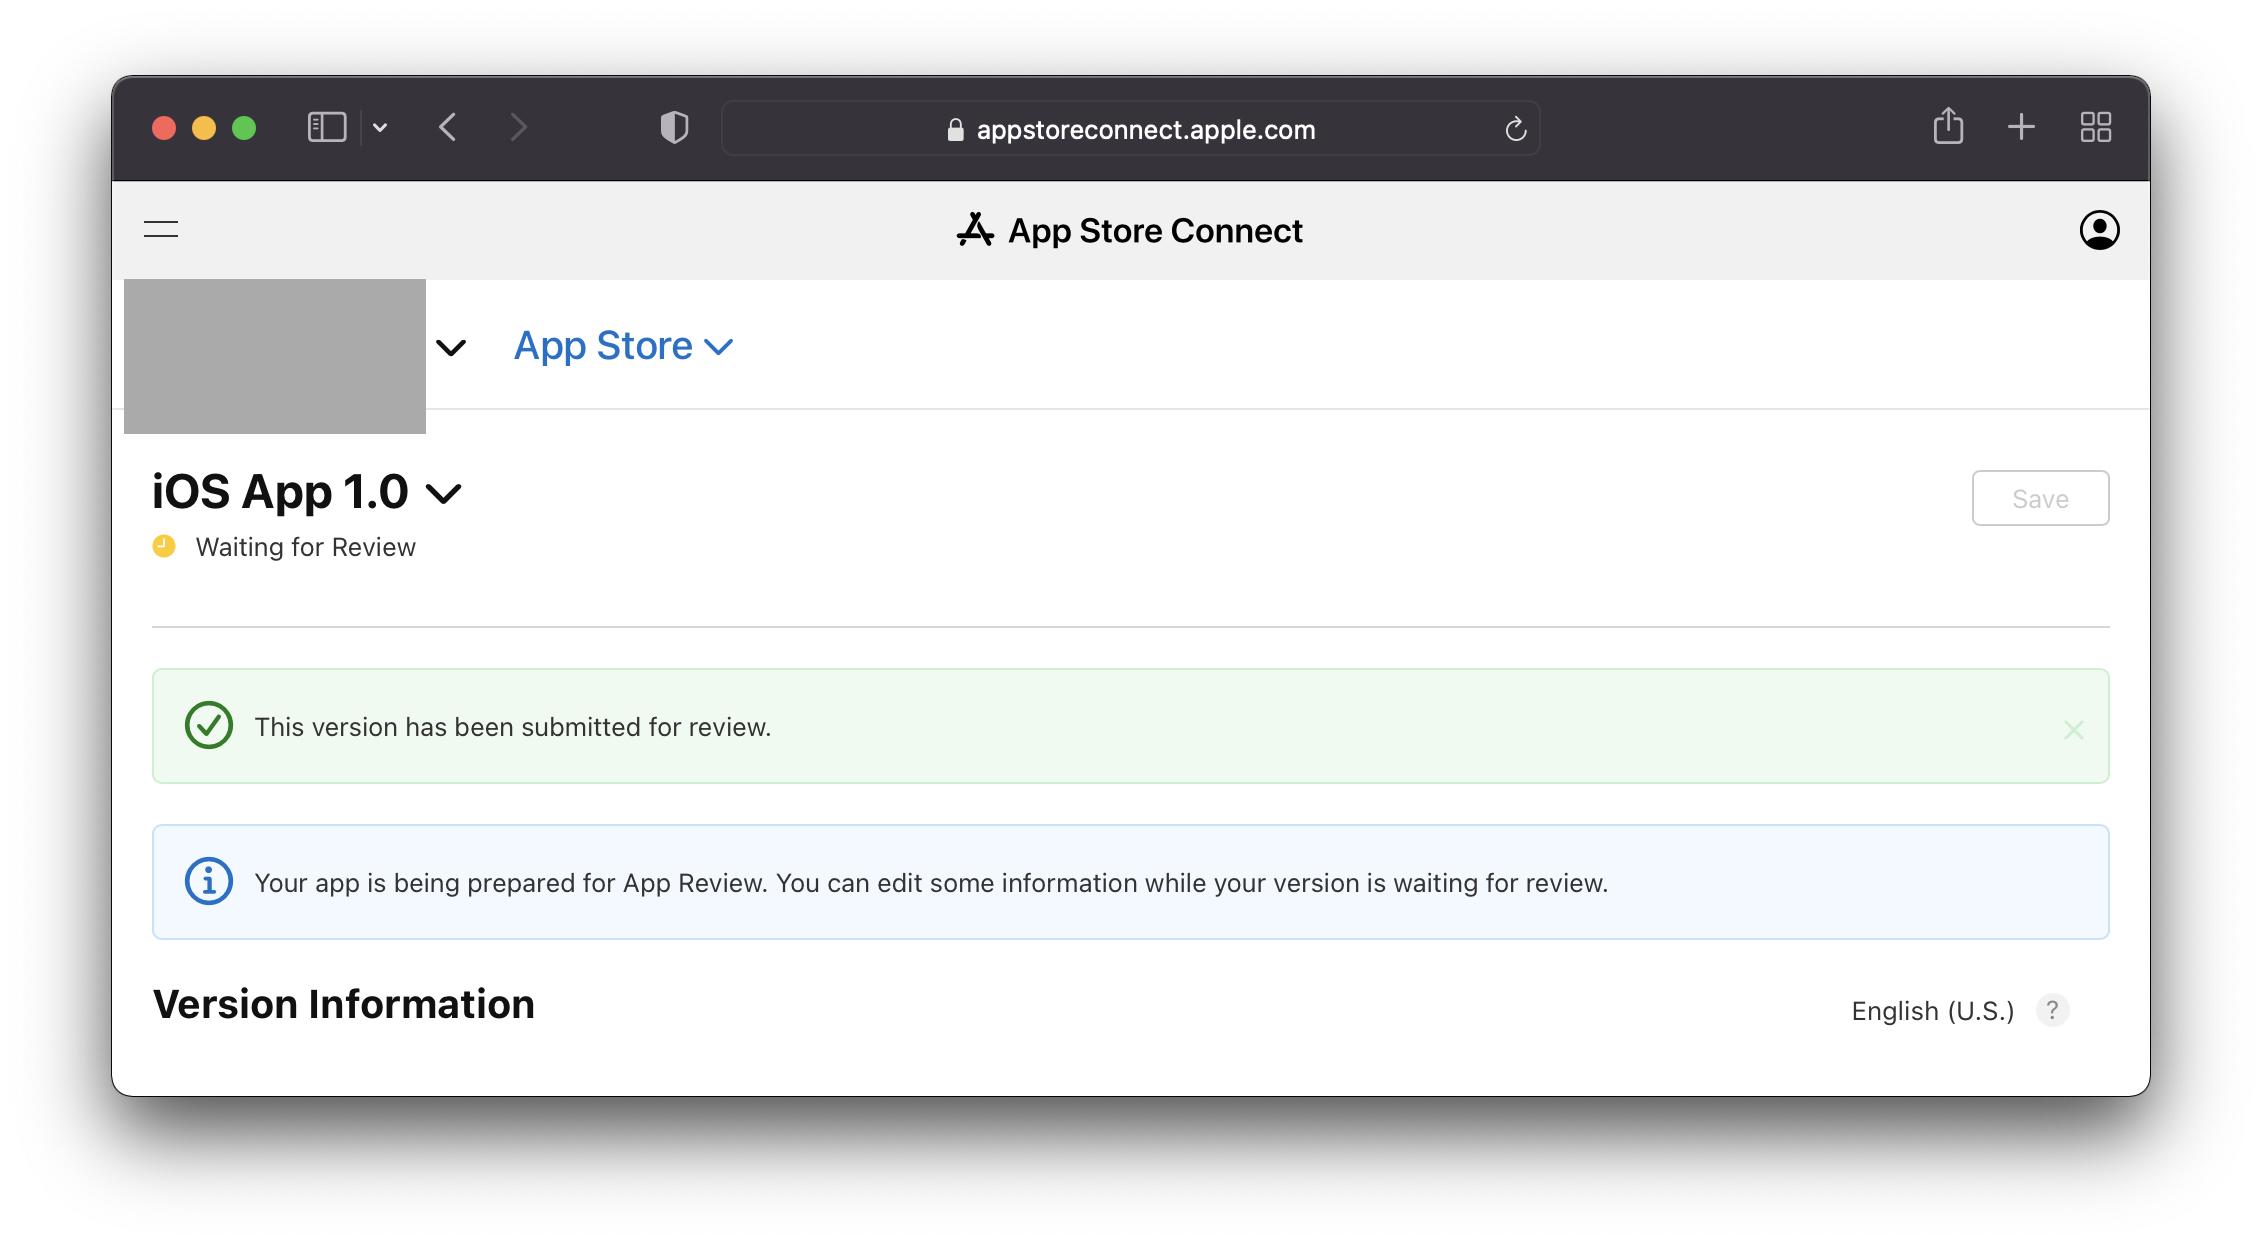
Voila!! App is submitted now and the status changed to Waiting for Review (Check the build status under the Version History section)
